
A render tells the client how much care went into the project, and a floor that shines like plastic says the opposite. Picture the same oak floor with real grain and light catching its roughness, set up once and right in every view. Most free texture sites give you a nice-looking image and leave the hard part to you: how big it is, which file goes into which slot, and why the render looks like plastic. I spent years building a texture library for my own architectural renders, published it once on texturefun.com, and have now moved all of it here as free 2K PBR textures for SketchUp. This guide is everything I would tell a colleague before they download one: what is in the ZIP, what each PBR map actually does, why 2K is the sweet spot, and how to set the textures up in SketchUp 2025 and 2026, V-Ray, Enscape, D5 Render and Twinmotion.
What is inside each free 2K PBR texture download?
- The maps, as 2048 × 2048 pixel PNG files. I measured a sample from every category: all of them are exactly 2048 × 2048, and the normal and height maps are mostly 16-bit, which keeps fine relief free of banding.
- Clear file names:
Brick Modern 5 2K PluginStation_normal.pngtells you the texture, the resolution and the map at a glance, so nothing gets mixed up in a project folder. - A LICENSE.txt in English and Turkish, so the terms travel with the file to whoever opens the project next.
- A sensible size. Half of the ZIPs are under about 20 MB and the largest is around 71 MB, so even a full material set downloads in seconds on an office connection.
- No sign-up and no download counter. The button on each texture card takes you straight to the file on Google Drive.
What are PBR texture maps, and what does each one do?
PBR (physically based rendering) splits a surface into separate images, one per physical property, so the render engine can work out how light behaves on it instead of you faking it in a single picture. Here is every map type you will find in the library, with how many of the 946 textures include it.
- Base colour (albedo), 931 textures: the colour of the surface with no lighting or shadow baked in. This is the map SketchUp shows in the viewport.
- Normal, 930: fakes small bumps and grooves by bending the light at each pixel: mortar joints, wood grain, fabric weave. Cheap to render, so use it everywhere.
- Roughness, 930: how sharp or blurred reflections are. Black is mirror-like, white is matt. This single map is what separates polished marble from honed marble.
- Specular level, 792: how strong the reflection is, used by engines that work with a specular amount alongside roughness.
- Height, 729: real height information for displacement, which actually moves the geometry at render time. Heavier than a normal map, and worth it on close-ups of paving, stone walls and bark.
- Ambient occlusion (AO), 638: the soft contact shadow in cracks and corners. Most modern renderers calculate it themselves; the map helps SketchUp's own view and real-time engines.
- Metallic, 189: which parts of the surface are bare metal. Mostly in the Metal category, plus painted or rusted surfaces where metal shows through.
- Glossiness, 58: the inverse of roughness, for engines and older workflows that ask for gloss instead.
- Opacity, 53: cut-outs, where parts of the texture should be see-through.
Normal map vs height map: which one should you use?
Use the normal map by default. It costs almost nothing and reads well from any distance. Add the height map as displacement only where the camera is close enough to see a silhouette change: the edge of a stone wall, paving in the foreground, a brick reveal around a window. Displacement multiplies the geometry the renderer has to handle, so a whole façade in displacement is usually wasted time. If the relief looks pushed in instead of out, the normal map's direction is flipped; SketchUp's material keeps a normal-map style setting for exactly this, and most render engines have a “flip green” or “invert Y” option.
1K, 2K or 4K: which texture resolution is right for architectural visualization?
Think in pixels per millimetre, not in “K”. A 2K texture that covers 2 m of wall gives you about 1 pixel per millimetre, which holds up in a full-HD interior shot and in most exterior views. The same texture stretched over 4 m drops to half that, fine for a façade seen from across the street, soft for a close-up of a reception desk. For scale: the PBR materials SketchUp 2026 ships with are 1K (the brick one is 1024 × 512 pixels), so these maps carry four times their pixels.
4K has its place, hero close-ups and large prints, but it is not free. A 2K map takes about 16 MB of graphics memory uncompressed, a 4K one about 64 MB, before mipmaps add roughly a third more. Multiply that by six maps and fifty materials and you see why real-time engines such as Enscape, D5 Render and Twinmotion slow down or start dropping texture quality. That is why the library is 2K throughout: sharp enough for professional work, light enough for a whole project.
How to use PBR textures in SketchUp 2025 and 2026
SketchUp 2025 brought PBR materials into SketchUp itself; its own material files now hold a base colour texture plus metalness, roughness, normal and ambient occlusion maps. There is no height slot, because SketchUp does not displace geometry. In SketchUp 2024 and older a material holds only the colour texture, and everything else waits for your render engine.
- Unzip the download somewhere permanent, next to the project. SketchUp embeds textures in the model, but keeping the source maps lets you rebuild a material for a render engine later.
- In the Materials panel, create a new material and choose the baseColor PNG as its texture.
- Type the real-world width of what the image shows (next section). Get this right before anything else; every other map follows the same size.
- In SketchUp 2025 and 2026, open the material's PBR settings and load the roughness, normal and ambientOcclusion maps, and metallic where the texture has one.
- Paint with the Paint Bucket and check the scale against something you know, a door or a person, from a normal eye-level view.
How to set the real-world texture size in SketchUp
A texture has no size until you give it one, and a wrong size is the most common reason a render looks fake: bricks the size of shoeboxes, parquet like matchsticks. Count what is in the image. If a brick texture shows eight courses and a standard course is about 7.5 cm with its joint, the image is about 60 cm tall. Planks, tiles and stone slabs work the same way. For positioning a pattern on one face and stopping textures stretching on curves, the SketchUp textures guide goes step by step.
How to hide texture repetition on large walls and floors
Every texture repeats; the question is whether the eye catches it. I ran an edge check on 62 textures from across the library: 48 repeat with no visible jump where one tile meets the next. On the rest, and on any wall wider than about three repeats, break the pattern up. Rotate the texture on neighbouring faces, mix two variants from the same group (most groups have several), let geometry interrupt it with a plinth, a joint or a change of material, and add a layer of dirt from the Grunge category where water and hands would leave marks.
Using the maps in V-Ray, Enscape, D5 Render, Twinmotion and Lumion
Every engine names its slots a little differently, but the mapping is the same. Base colour goes into diffuse or albedo. Roughness goes into roughness; if the engine asks for glossiness or reflection glossiness, use the glossiness map where there is one, or invert roughness. Normal goes into the normal or bump slot set to normal-map mode. Height goes into displacement, only for close-ups. Metallic goes into metalness. Specular level goes into the reflection or specular amount on engines that have one. Leave the AO map out of path-traced renders, which calculate contact shadow themselves, or multiply it gently into the base colour for real-time scenes.
The PNG maps are standard files, so the same set works outside SketchUp too: Blender, 3ds Max, Rhino, Unreal Engine or Unity, under the same free licence.
Find the right free texture fast: categories and counts
- Stone, 199: granite (172), pavement, stone walls and stone floors.
- Fabric, 203: patterned fabric (80), leather (39), carpet, denim and other fabrics.
- Concrete, 90: smooth concrete (61), damaged, dirty and rough concrete.
- Marble, 66 in one marble collection, plus marble tiles (24) under Tile.
- Walls and plaster, 92: cement, painted and plastered walls, damaged plaster and stucco.
- Brick, 35: modern, old, painted, rough and brick paving.
- Wood, 33: wood floors, planks, fine grain and weathered wood.
- Outdoor ground, 98: asphalt, gravel, soil, sand, snow and roofing.
- Metal and plastic, 70: clean, damaged and scratched metal, and plastics.
- Utility, 20: displacement-only height maps and grunge overlays.
Can you use these free textures in commercial projects?
Yes. Renders, animations, games, architectural and product visualisation and printed work are all allowed, for clients too, with no credit required. The one thing the licence rules out is passing the texture files themselves on: selling them, re-uploading them to another texture site or bundling them into a texture pack. The full text is in the LICENSE.txt inside every ZIP and on the texture library page.
Model the surfaces these textures go on
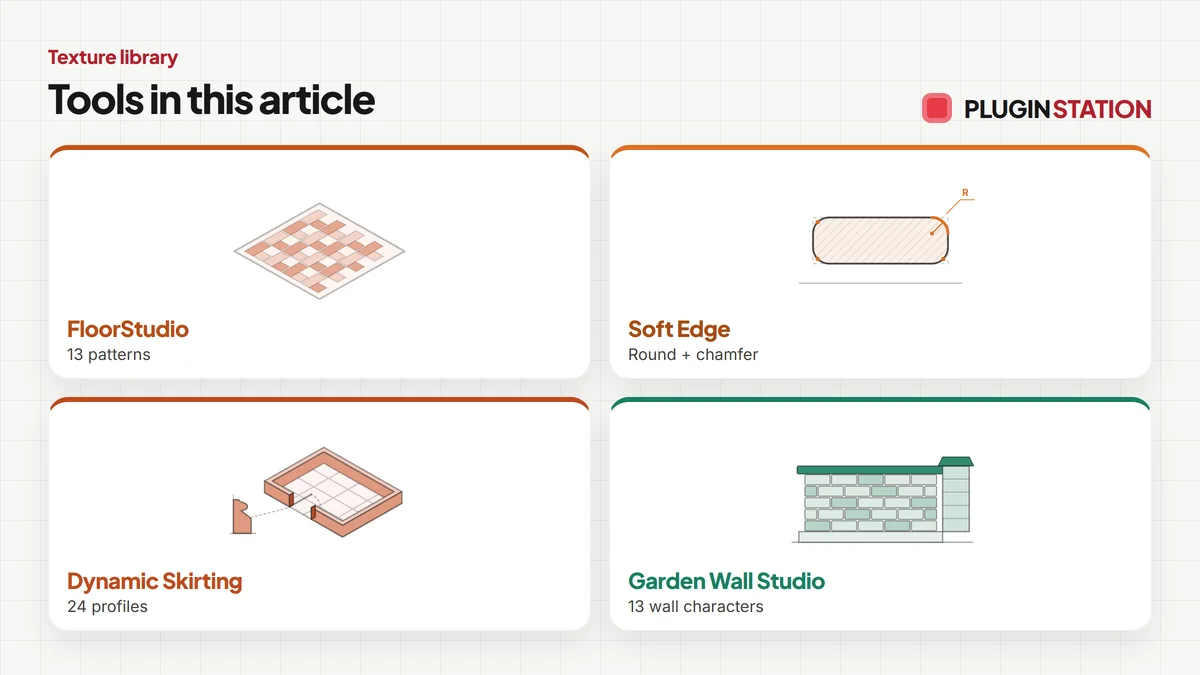
A good texture on a badly modelled surface still looks wrong. A floor needs boards that stop at the wall, a wall needs a skirting, an edge needs a radius to catch the light. That part is what the plugins here do: FloorStudio lays and counts floors in real patterns, Soft Edge (free) rounds edges and wraps the texture over the new curve, Dynamic Skirting runs skirting and cornice around a room, and Garden Wall Studio builds stepped walls for your stone and brick textures to sit on.
- Flooring$39FloorStudio
FloorStudio
Skip the tile-by-tile copying: every board cut, counted, out as CSV.
- 13 patterns
- SketchUp 2021-2026
- CSV take-off
SketchUp 2021–2026v3.3.0
- FREE ProductivitySoft Edge
Soft Edge
Skip hand filleting: round or chamfer in one click, always editable.
- Round + chamfer
- SketchUp 2021-2026
- Free
SketchUp 2021–2026v0.8.1
- Interior$25Dynamic Skirting
Dynamic Skirting
No hand-cut mitres: skirting and cornice, one click per room.
- 24 profiles
- SketchUp 2024-2026
- TR / EN / ES
SketchUp 2024–2026v1.3.2
- Landscape$15Garden Wall Studio
Garden Wall Studio
No step maths on a slope: stepped garden walls, gates included.
- 13 wall characters
- 6 gate presets
- Quantity report + CSV
SketchUp 2021–2026v1.5.0
Frequently asked questions about free PBR textures for SketchUp
Are the textures seamless?
Most of them repeat cleanly. In an edge check on 62 textures from every category, 48 showed no visible jump where the tiles meet. Patterned fabrics and some tiles and floors are the ones to check before covering a large surface; the tips above for hiding repetition apply to all of them.
Do I need an account to download them?
No. Each texture card has a direct download button; the file comes from Google Drive and there is nothing to sign up for.
Which SketchUp version do I need?
Any version can use the base colour map as an ordinary texture. To load the roughness, normal, metallic and ambient occlusion maps into SketchUp's own materials you need SketchUp 2025 or 2026; with older versions, add them in your render engine instead.
Why only 2K, and not 1K or 4K?
Because 2K covers almost every architectural shot at a size a whole project can carry. 1K goes soft as soon as the camera gets close, and 4K multiplies download size and graphics memory by four for a difference most views never show.
The advantage is plain: materials that read as real in the image, free for client work too, without rebuilding them for every project. Pick a texture from the free 2K PBR texture library, then give it a real surface to sit on: FloorStudio lays the floor it belongs to.