
A building is judged by the place it makes, and your project deserves to be seen standing in a living street. That is the image to work towards, because here is what usually happens instead. You spent three weeks on the building. The plan works, the facade is resolved, the section is honest. Then you hit render and the thing is standing on a grey plane, alone, like a product shot of a building nobody has to live next to.
A jury reads that gap in about a second, even when nobody names it out loud. A building alone is a claim. A building with a street, a neighbour that steals its afternoon light, and a plane tree that is obviously older than the project — that is a proposal.
The opposite failure costs more. Two days modelling a block across the road that will end up as forty grey pixels behind a tree is two days you did not spend on the entrance detail. Context is worth doing and worth not overdoing, and the entire skill is telling those apart before you start.
Context is an argument, not decoration
Before you decide how much to model, decide what the context has to prove. Every surrounding block you build should be answering a question someone in the room is going to ask. If it answers nothing, it is scenery, and scenery gets the cheapest treatment you can give it.
- Scale: is your building polite or arrogant next to what is already there?
- Shadow: who do you overshadow in December, and who overshadows you?
- Approach: what does a person see in the last thirty metres before the door?
- Which facade is the public one — and does your design know that?
- Why the setback, the orientation and the entrance sit exactly where they sit.
Decide your level of detail before you model anything
Set your final camera views first — the three or four images that actually go on the board. Then measure, in the model, how far each context building is from those cameras. That distance, not your enthusiasm, decides the detail. Sort everything into three rings and never mix them.
- Ring 1, up to about 30 m: real wall thickness, window reveals, real materials, a door you could walk through. This is usually only two or three neighbours.
- Ring 2, roughly 30-150 m: correct footprint, correct height, correct roof shape, one flat material, no window frames — flat glazing bands are enough.
- Ring 3, beyond that: silhouette only. Masses extruded from the footprint, one desaturated colour, no openings, no roof detail.
Get the footprints from reality
Invented context is the fastest way to lose credibility with anyone who knows the neighbourhood. SketchUp's Add Location brings in terrain and aerial imagery, which is a fine base, and OpenStreetMap gives you building outlines with height or building:levels tags where somebody bothered to fill them in. Both need checking.
- Aerial imagery is often years old — a building in your render may already be a hole in the ground, or the other way round.
- Never trace wall lines from a satellite roof. Parallax leans tall buildings away from the centre of the image, so the roof sits offset from the footprint.
- Where heights are missing, count storeys from street photos: about 3 m per residential floor, 4 m or more for a commercial ground floor.
- Municipal zoning drawings give you the legal setback and height limits — often more useful than any mesh you can download.
- Walk the site or scroll street imagery once, looking only at ground floors. That is the layer people actually see.
Filling the blocks without losing the day
- Vary heights along a street, but keep the street line consistent — cities are irregular in section and disciplined in plan.
- Break the block somewhere: a gap, a courtyard, a lower infill. Perfect repetition reads as wallpaper.
- Give ground floors a different treatment from the floors above, even in Ring 2. It is the cheapest realism you can buy.
- Rotate and mirror repeated blocks rather than copying them in a straight line, and never leave two identical roofs side by side.
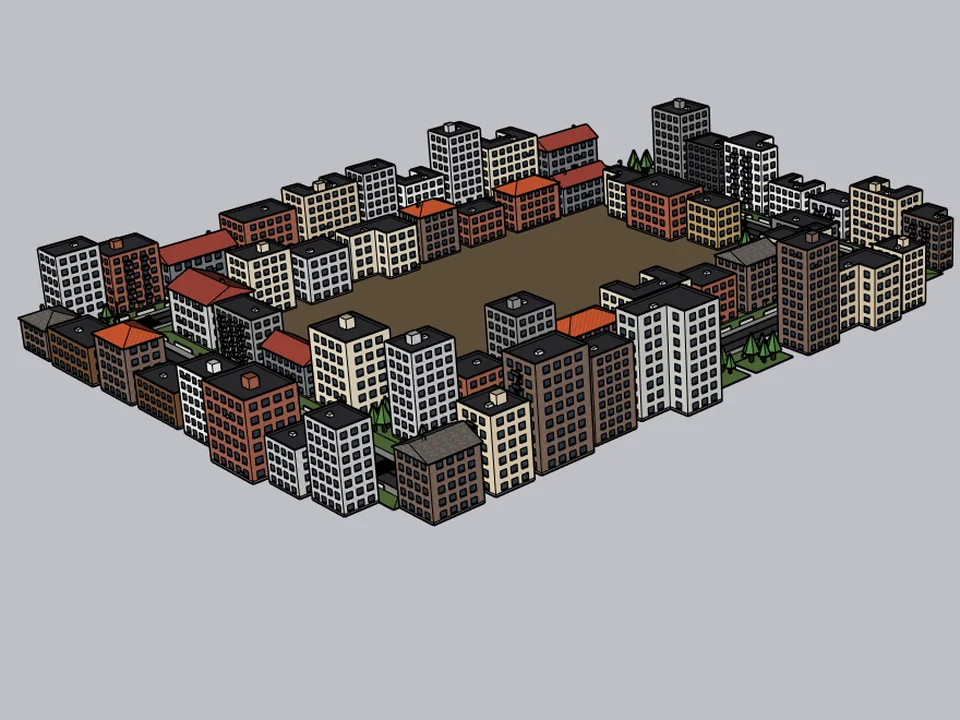
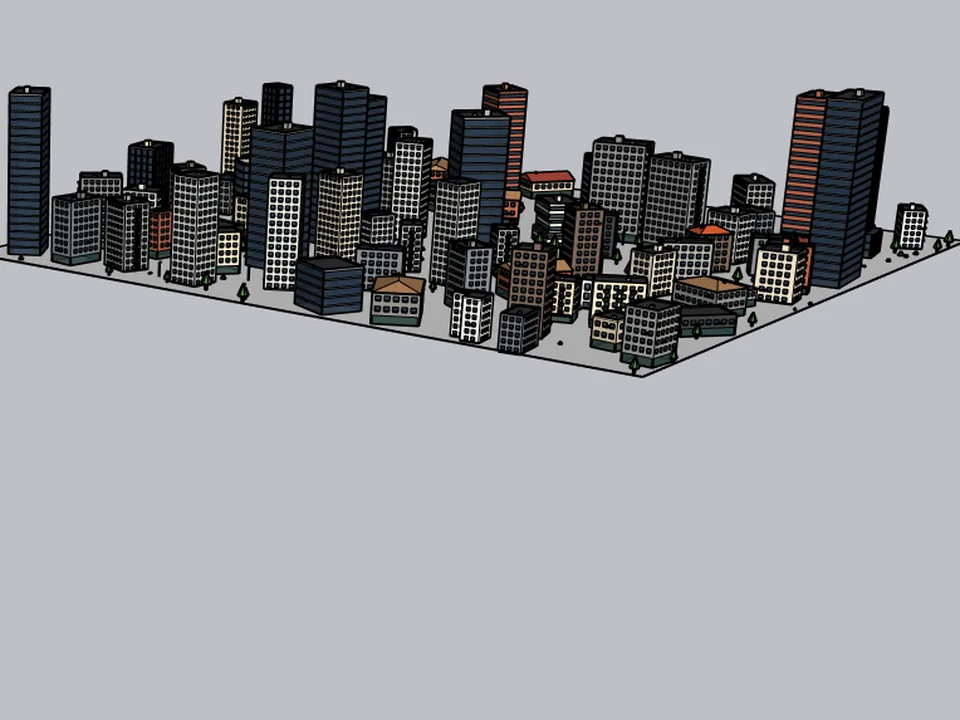
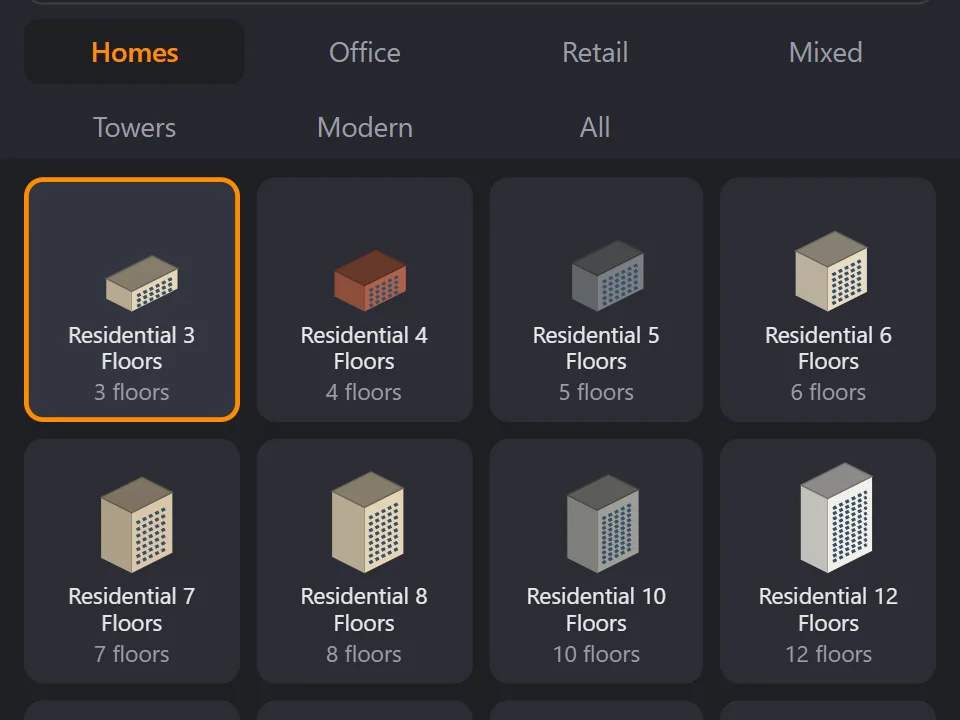
This is exactly the kind of work that is important to have and miserable to do by hand. CityFill exists for it: 154 ready-made buildings and three placement modes, running on SketchUp 2021 through 2026. The catalogue timing for that task is 150 minutes by hand against 25 seconds — and the point is not the seconds, it is that you stop treating context as a punishment.
Draw the road. The street grows with it.
FREE Urban DesignCityFillCityFill
No white void around your design: fill the city in a few clicks.
- 154 presets
- 3 placement modes
- SketchUp 2021-2026
SketchUp 2021–2026v2.0.0

Roads have to obey the ground
The clearest tell of a fake site model is a perfectly flat ribbon of asphalt lying on sloping ground, with kerbs that float at one end and drown at the other. Roads are the thing juries subconsciously check, because everyone has walked on one. Get the ground relationship right and half the model is believed.
- Give the carriageway a crossfall of around 2% so water has somewhere to go; a dead-flat road looks like a drawing.
- Kerb upstand is typically 12-15 cm, dropping to near zero at crossings. That drop is a detail people notice at eye level.
- Junctions need corner radii, not sharp corners — something like 5-6 m on a residential street.
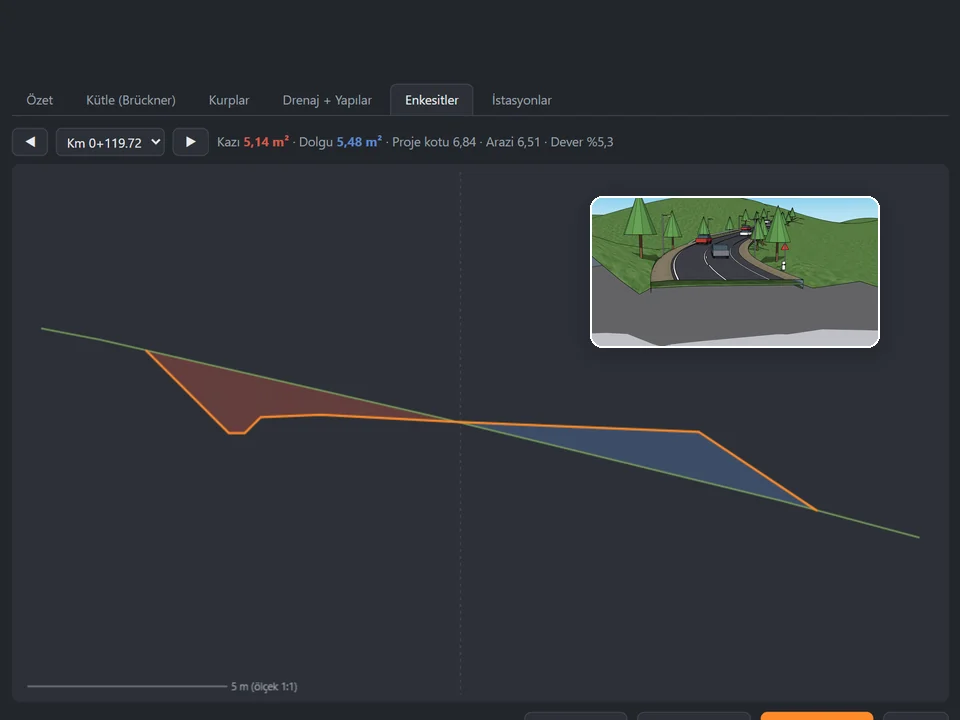
- The road follows the terrain and the terrain gets cut and filled to meet it. Show the embankment or the retaining edge; that is where the site budget lives.
- If the approach to your entrance is a ramp, keep it at 1:12 (8.33%) or gentler with level landings — accessible, and it also stops the entrance sequence looking dramatic for no reason.
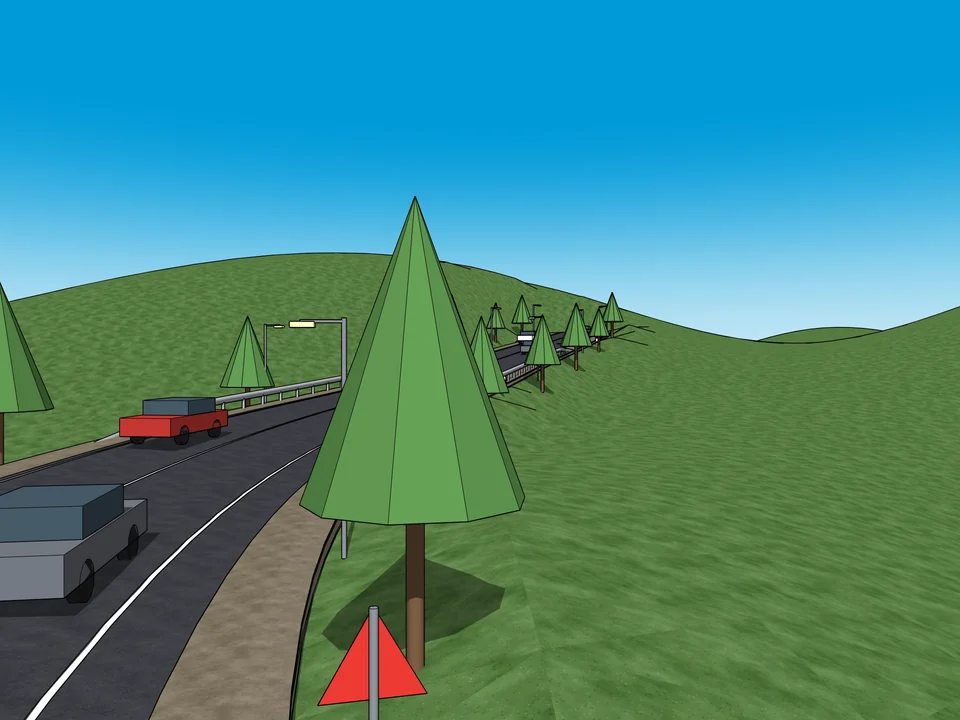
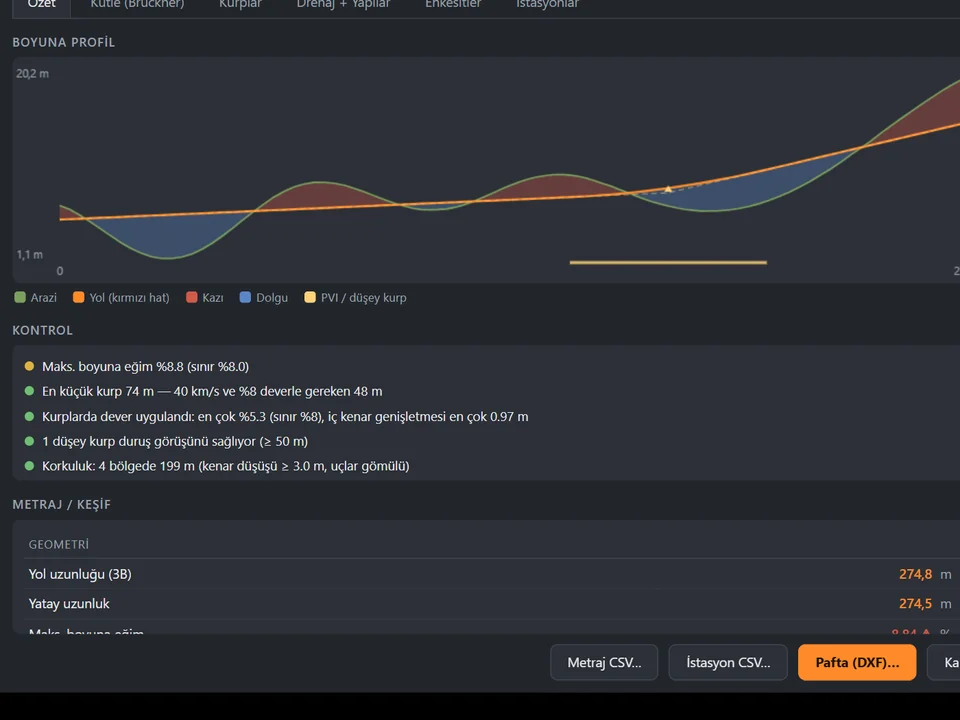
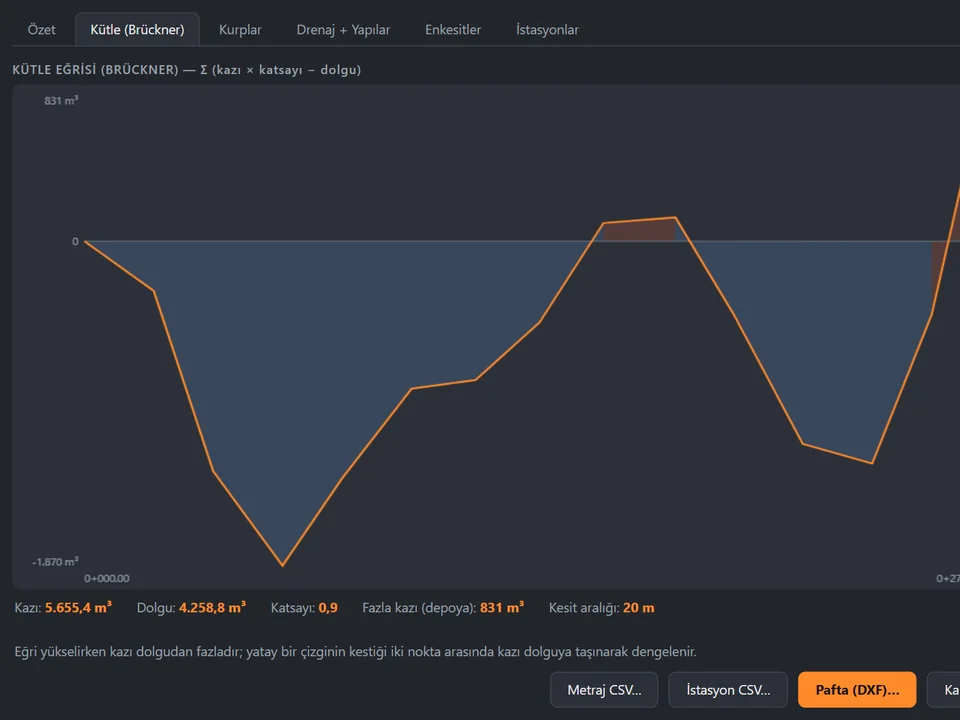
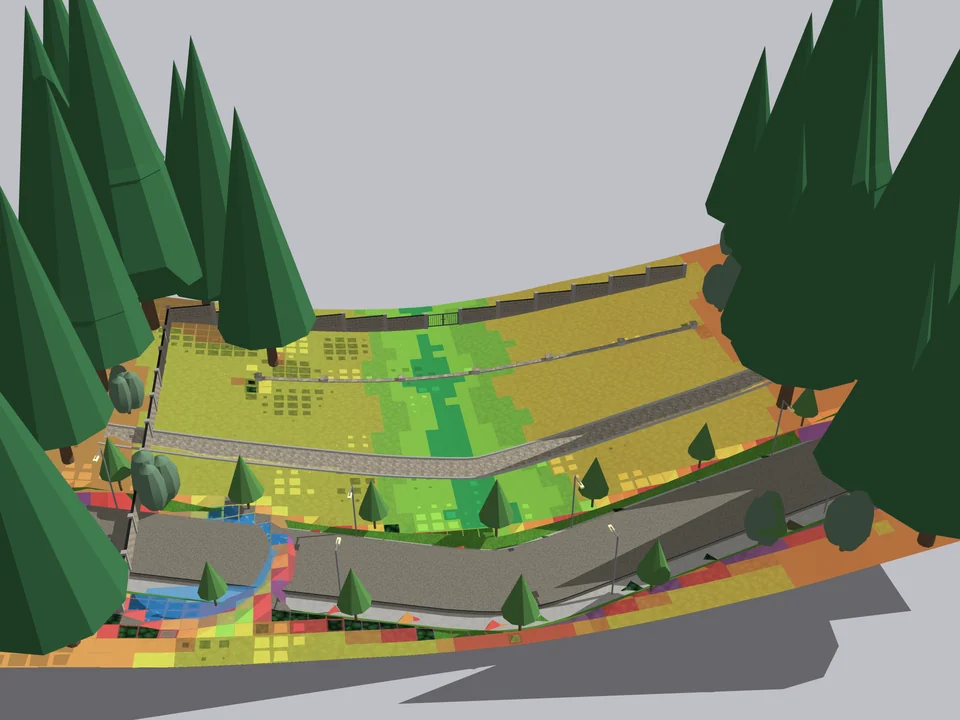
RoadFlow is built around exactly that relationship: you click a route and it produces the corridor, the terrain adjustment and the quantities together, with 7 ready road types and 408 tests green behind it, on SketchUp 2021-2026. It reports 13-35x faster generation, which matters when you are revising the site for the fourth time on a Thursday night.
Ground, planting and the edge of the plot
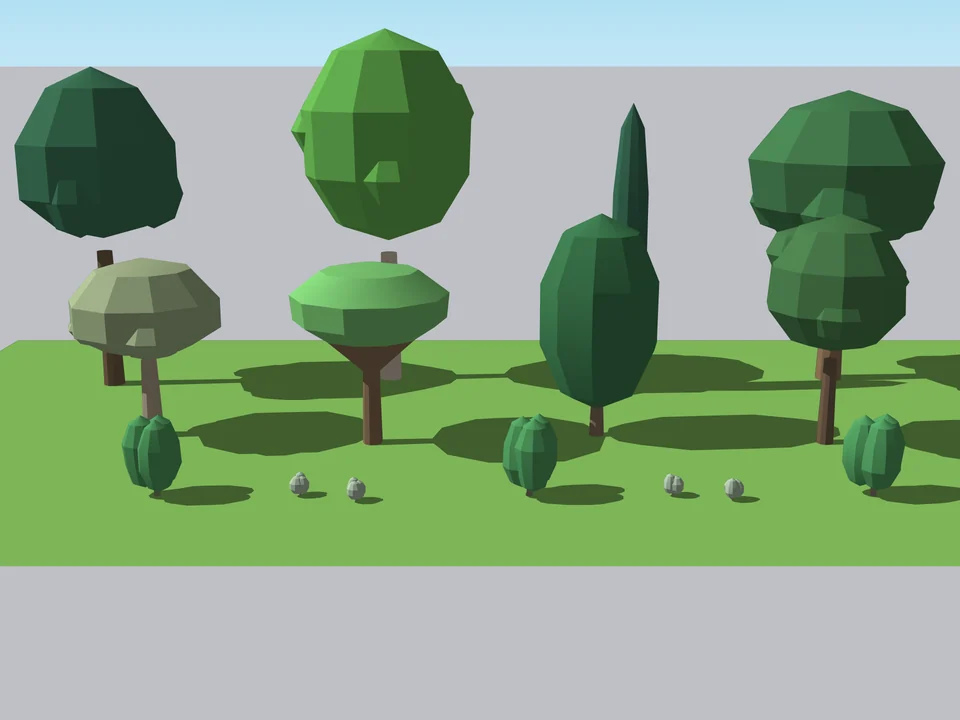
Sculpt the terrain before you place anything on it, because every wall, path and tree afterwards has to sit on that surface. Then plant for scale rather than for botany: trees are the only element in the model with a size everybody already knows, which is why a badly scaled tree ruins a render faster than a badly scaled window.
- Use three sizes: a few mature trees, a mid layer, and new planting at real nursery size. A site where everything is mature is a site nobody believes.
- Silhouette beats leaf count. A clean outline at the right height reads correctly; a 2-million-polygon tree just slows you down.
- Plant species that survive your actual climate. A landscape architect on the jury will spot a palm in the wrong province.
- Keep the hero facade clear. Trees frame a view, they do not replace it.
- Let shadows do the work — planting earns its place mainly through what it casts on the ground plane.
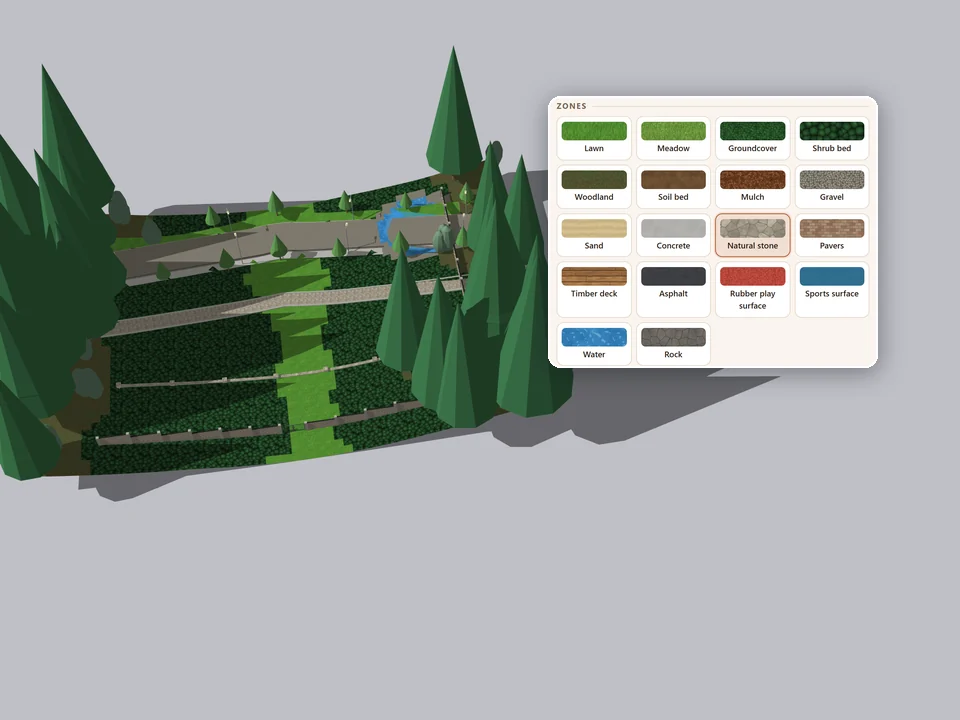
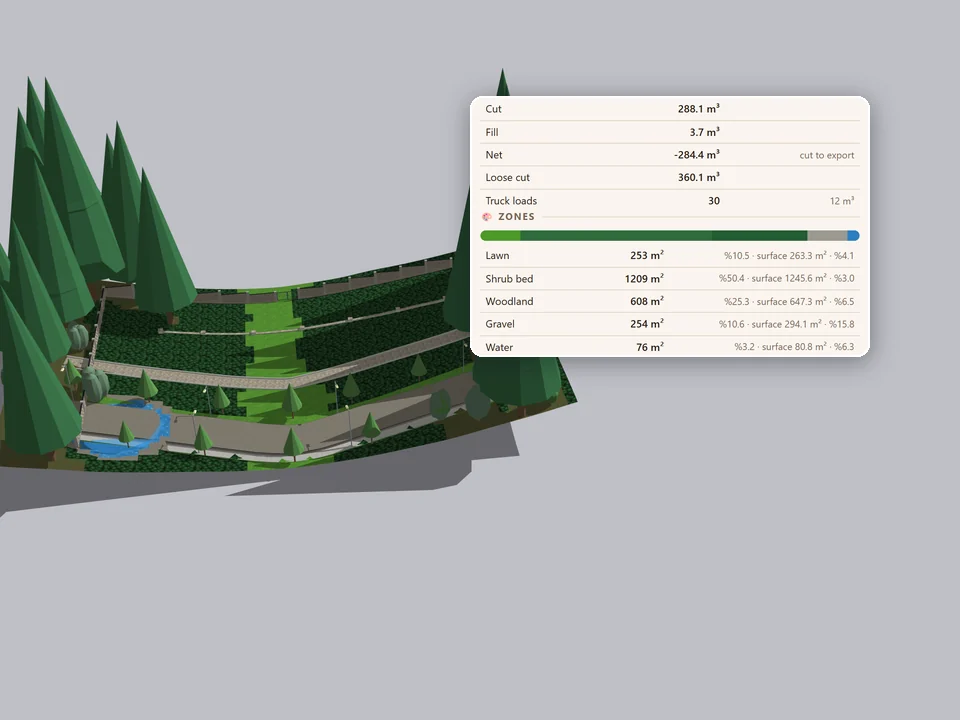
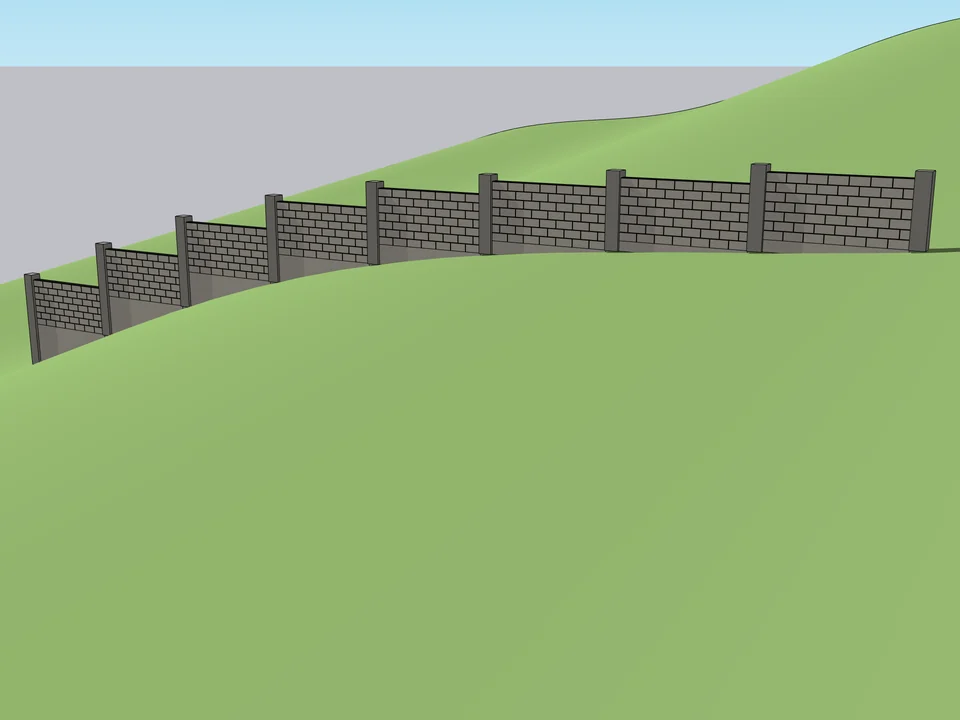
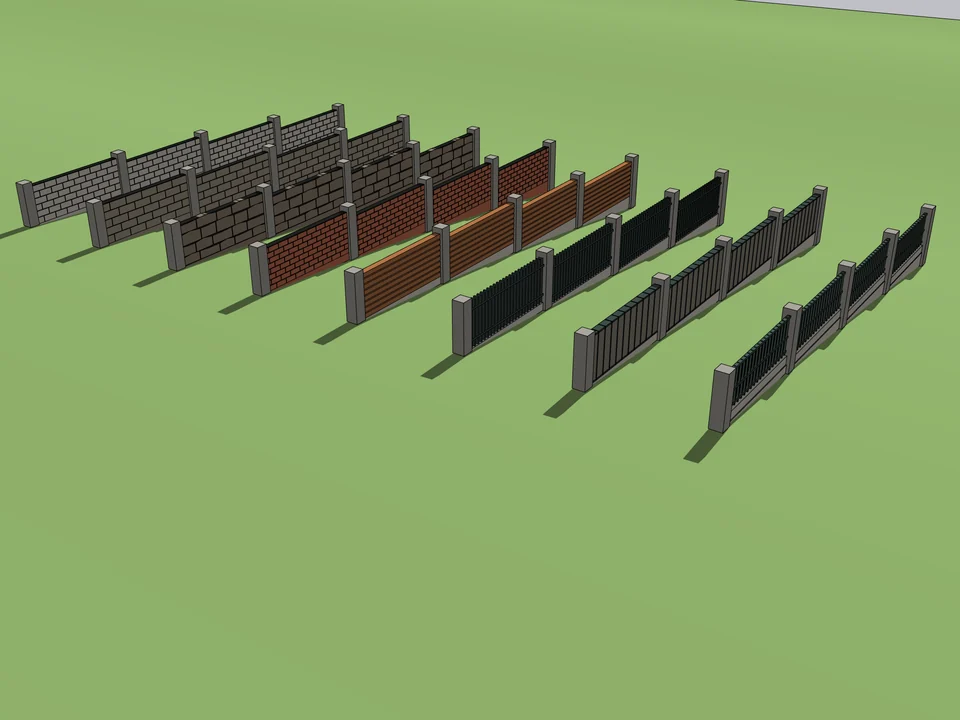
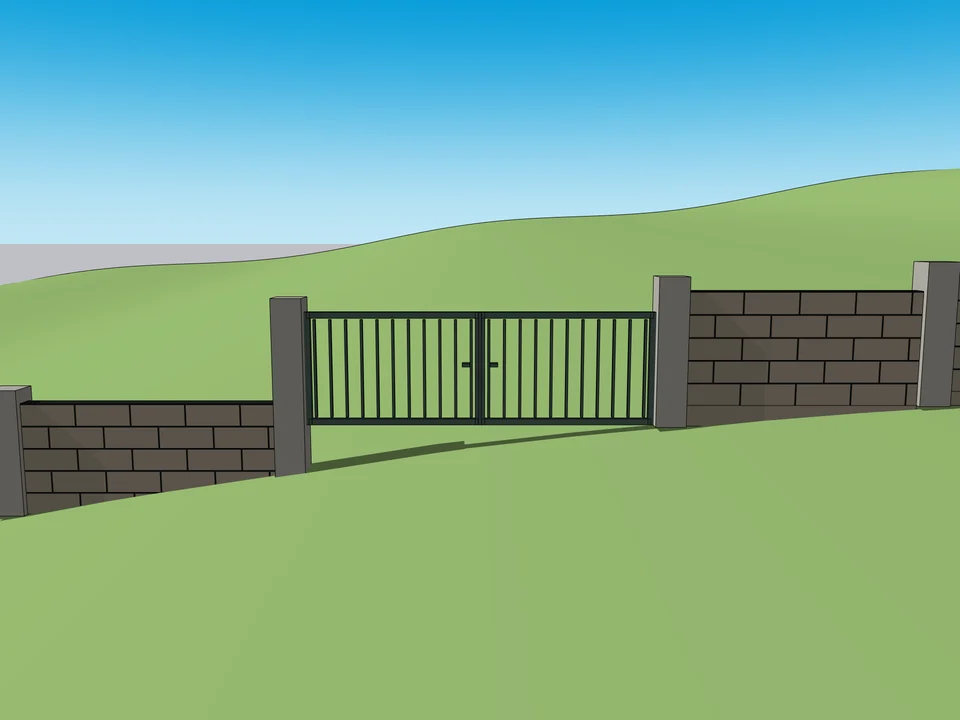
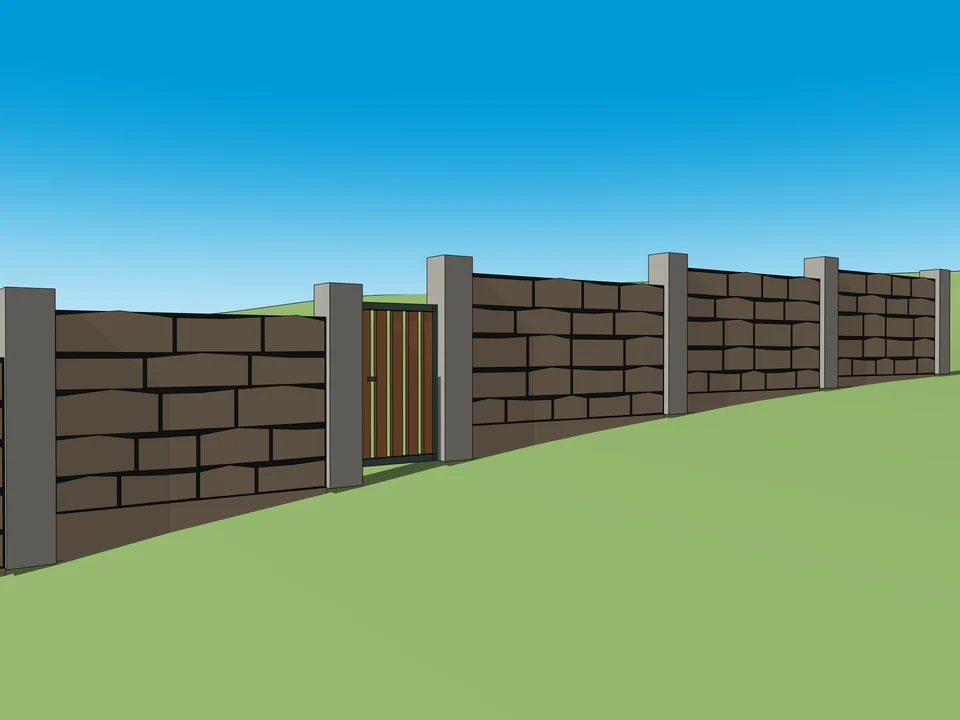
Landscape Studio is aimed at this stage: 12 terrain brushes so you sculpt the ground once and let paths, walls and planting follow it, plus a plant database of 151 species grown in Turkey, with 571 tests green on SketchUp 2021-2026. And do not skip the plot boundary — it is where your project meets the street, and it is usually the last thing anyone models. Garden Wall Studio handles the stepped walls that slopes demand, with 13 wall characters, 6 gate presets and a quantity report you can export to CSV.
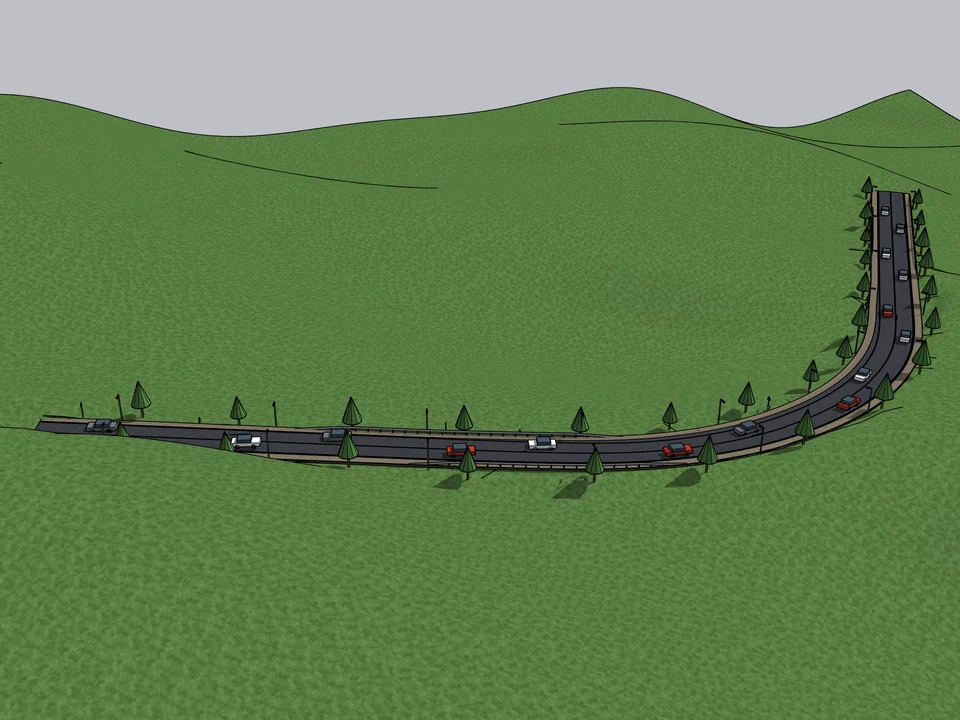
Click a route. The road sits on the land.
Urban Design$40*RoadFlowRoadFlow
Click a route; road, terrain fit and quantities follow, no hand-fitting.
- 408 tests green
- 13-35x faster builds
- 7 road presets
SketchUp 2021–2026v1.16.0
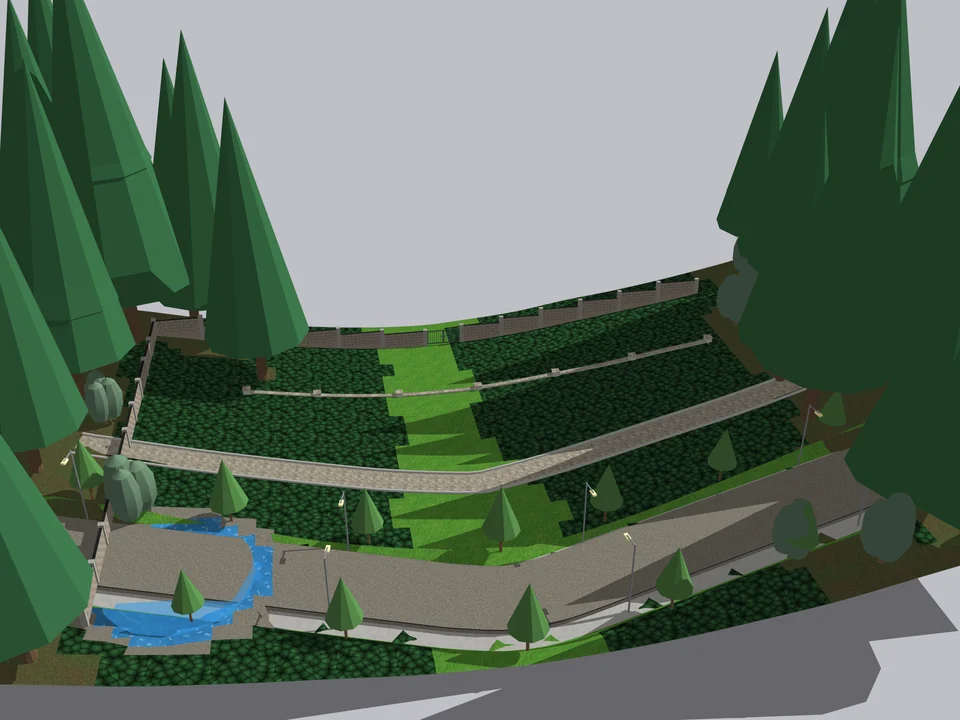
Shape the ground once. The site follows.
Landscape$45*Landscape StudioLandscape Studio
No fixing after every edit: shape the ground once, the site follows.
- 151 Turkish plants
- 12 terrain brushes
- 571 tests green
SketchUp 2021–2026v1.6.0
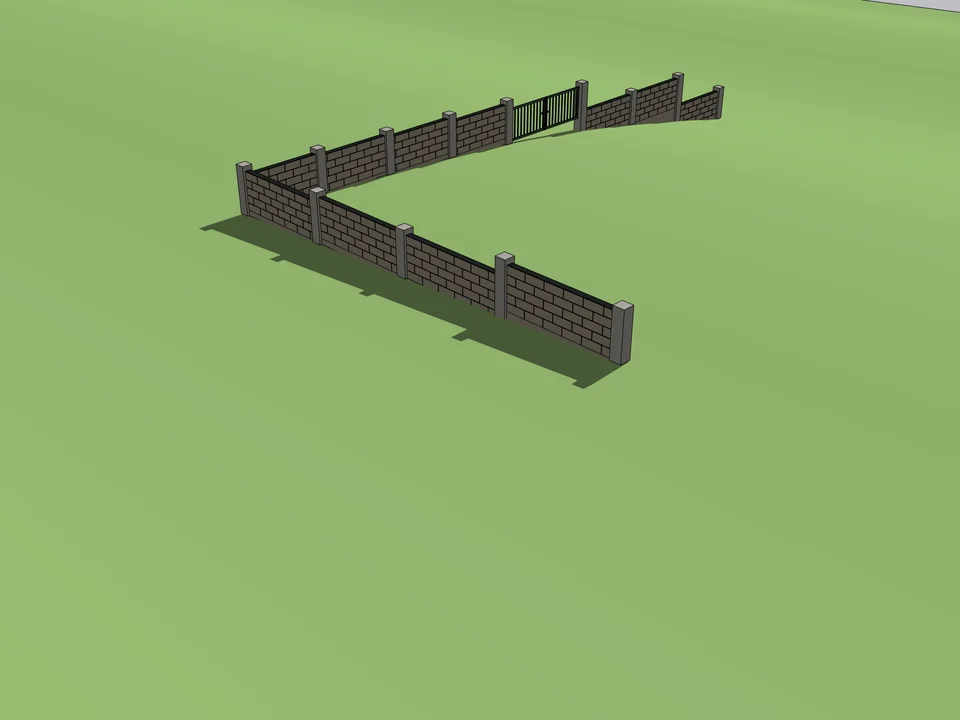
Draw the boundary. The wall builds itself.
Landscape$15Garden Wall StudioGarden Wall Studio
No step maths on a slope: stepped garden walls, gates included.
- 13 wall characters
- 6 gate presets
- Quantity report + CSV
SketchUp 2021–2026v1.5.0
Keep the file light and the context quiet
Context is what kills SketchUp files. Discipline here is not housekeeping, it is the difference between orbiting smoothly at 6 p.m. the day before the deadline and watching a spinning cursor. Two rules cover most of it: make everything a component, and give every ring its own tag so you can switch the far city off while you work.
- Components, never groups, for anything repeated — one definition, many instances, a fraction of the file.
- Tag by ring (Context-1, Context-2, Context-3) and by type (roads, planting, walls) so scenes can control them.
- One flat material per Ring 2 and Ring 3 building. Desaturate context colours so your project holds the only real material palette in the image.
- Turn profile lines off for context styles — heavy outlines on distant boxes make a model look like a diagram.
- Use Fog to dissolve the edge of your city instead of modelling to the horizon. Nobody has ever asked what was past the fog.
- Purge unused before you save, and keep the context in its own file you can reload into the next project on the same street.
Add up the catalogue's manual timings for the four jobs in this article — surrounding blocks, roads, terrain and planting, boundary walls — and you get roughly 13 hours of modelling for things nobody will zoom into. That is the real argument for automating context: not that the render gets prettier, but that you get two full days back for the parts of the project that are actually yours. Set the cameras, pick the rings, fill the blocks, and go finish the entrance.
The advantage, plainly: context stops costing days and starts making your argument, and the hours go back to the entrance, the facade and the parts that are yours. Fill your next block with CityFill, free on SketchUp 2021 to 2026, then let the ground and the plot edge follow.