The floor tells a client you care about detail at first glance, before they look at anything else. Picture the herringbone closing cleanly at the door, every edge cut true, and the box count ready before anyone asks. Open any interior model and look at the floor. Nine times out of ten it is one big face with a tile image stretched over it, scaled until the tiles "look about right". The tenth time, somebody drew a single 60×60 tile, made it a component, and started copy-arraying.
Both are wrong, in opposite directions. The texture floor lies about the pattern and gives you nothing to count. The hand-arrayed floor is honest but expensive: it eats an afternoon, it is wrong at every edge, and it dies the moment the client moves a wall 20 cm.
Flooring is not really a material question. It is three separate problems wearing one coat: a set-out problem, a clipping problem and a counting problem. Solve those three and the render takes care of itself.
A texture is a picture of a floor
Textures are perfectly fine at 1:100, seen from the doorway, on a mood board. They fall apart the moment anything real touches the floor.
- Perimeter cuts. A tiled image simply runs off the edge of the face; a real floor has a measured cut against every wall.
- Thresholds. Joint lines that must align between two rooms — or deliberately break at a door — are beyond a projected image.
- Level changes. Tile that turns up a step or wraps a plinth needs geometry, not a texture.
- Light. At 3 mm deep, a grout joint catches shadow. A flat map reads as vinyl in a close render.
- Quantities. A texture has no idea how many boxes you need to order.
Grout is a dimension, not a slider
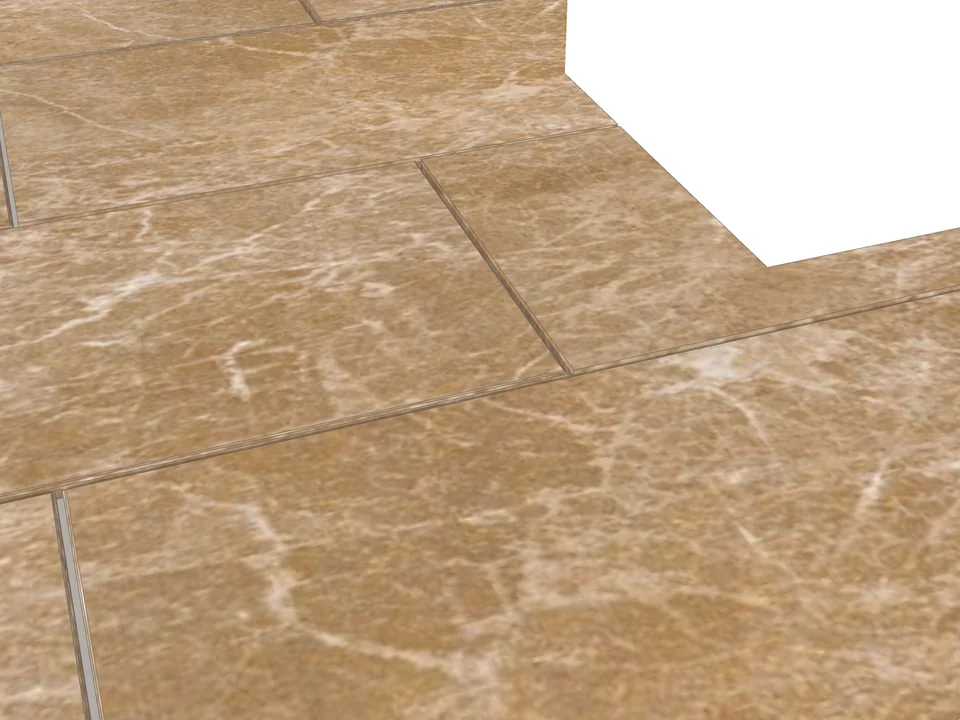
Grout is a physical width the tiler works to, and it depends on the tile edge. Rectified porcelain is usually laid to about 2 mm. Standard pressed-edge ceramic wants 3–5 mm because the edges are not perfectly true. Large-format outdoor paving on pedestals or sand goes wider still. Timber is the mirror image: engineered boards click together with no gap at all, but the whole floor needs a 10–12 mm expansion gap around the perimeter, hidden by the skirting.
Here is why eyeballing the scale fails. A 600 mm tile with a 3 mm joint is a 603 mm module. Across a 6 m room that is 9.95 modules, not 10. Scale the texture so ten tiles fill the wall-to-wall dimension and you have quietly accumulated 30 mm of error by the far side — the difference between a clean cut and an ugly sliver. Model the module, not the tile.
Three patterns, three different set-out problems
Running bond
Each row is offset against the last. Fifty percent — a true brick bond — is the reflex, and on long planks it is a mistake. Tiles and planks bow very slightly along their length, so a joint landing at the middle of the neighbouring plank sits at its highest point and you get lippage. Manufacturers and the tile standards generally cap the offset at around one third for any unit with a side longer than roughly 380 mm. On 1200 mm planks, a 1/3 or random offset both looks better and lays flatter.
Herringbone
Rectangular boards meeting at 90°, the end of one against the side of the next, with the whole field then run square to the room or rotated 45°. The trap is proportion: herringbone only closes cleanly when the board length is a whole multiple of its width plus joint — 4:1 and 5:1 are the classic ratios. Get that wrong and the pattern creeps. The second trap is the perimeter. A herringbone field ends in a saw-tooth, so it almost always wants a border course to cut against.
Chevron
Chevron is not herringbone laid at an angle, and briefs confuse the two constantly. Chevron boards are mitred on the ends — 45°, or the 30/60 of the Hungarian point — so the ends meet and the joints form one continuous unbroken line down the room. You cannot build it from rectangular boards, and the mitre angle has to be decided before anything is cut. In a model that means the piece geometry itself changes with the pattern, not just its rotation.
Clipping is where hand-modelling dies
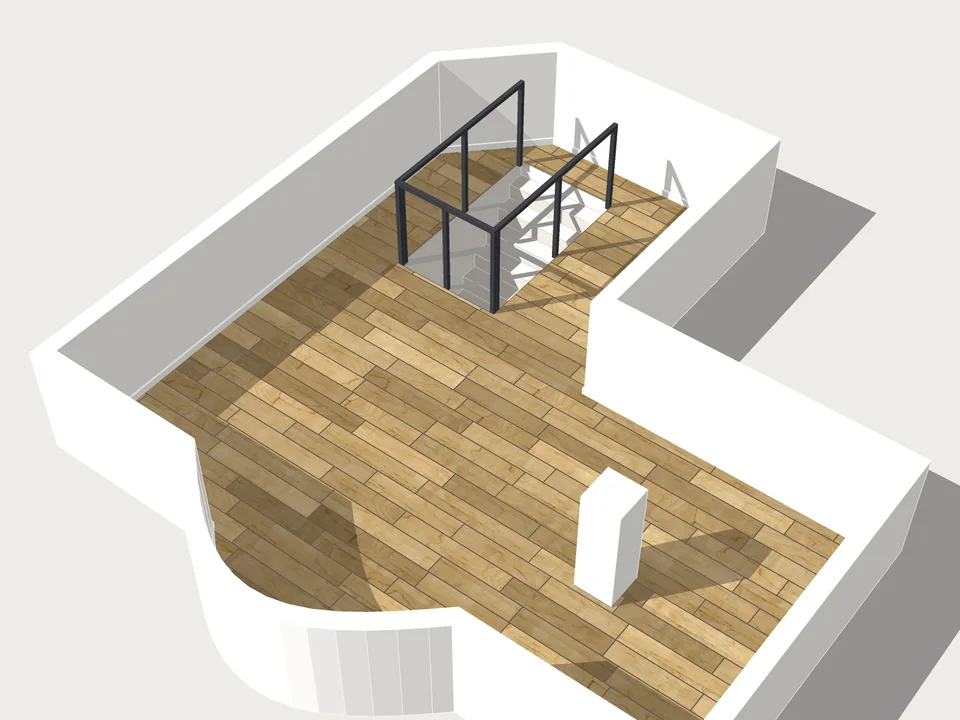
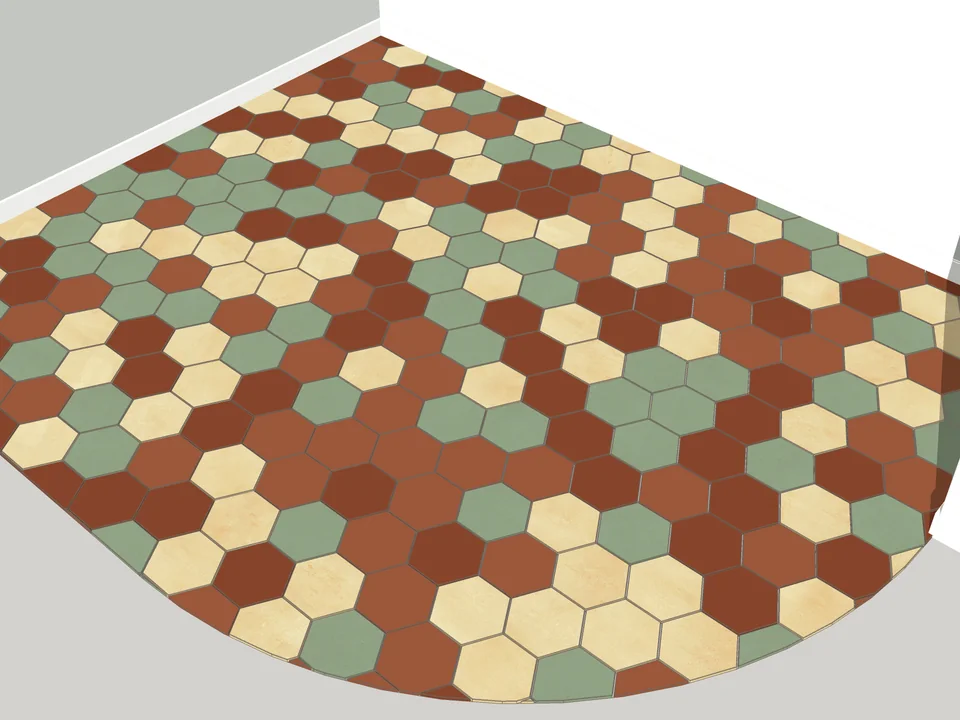
Real rooms are not rectangles. There is a chimney breast, a column, a bay, a kitchen island footprint, a floor gully, a threshold strip, a stair nosing. Every one of them is a boolean against a field of several hundred pieces, and every one of them changes when the plan changes.
- Clip the field to the room outline — the finished outline, not the structural one.
- Subtract every hole: columns, ducts, hearths, floor gullies, joinery that sits on the slab.
- Kill slivers. Anything under about a third of a tile is a reason to shift the set-out, not a reason to cut.
- Keep partial pieces as pieces with dimensions, not anonymous shards — the tiler cuts to a number.
- Keep whole pieces whole, so the count still means something.
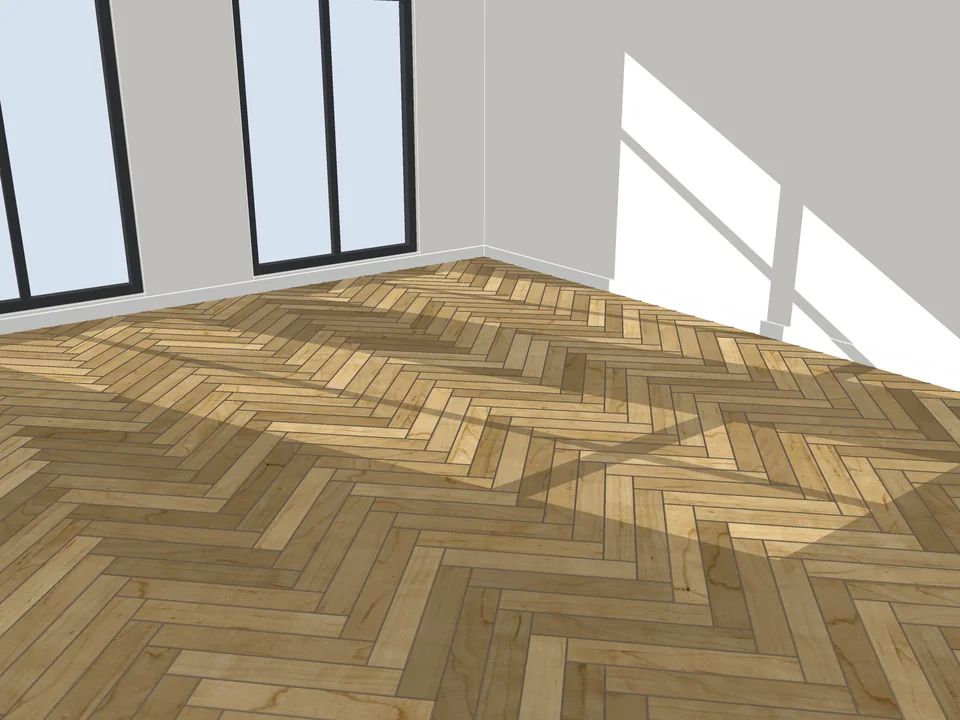
Pick a face, pick a pattern. Floor laid.
Flooring$39FloorStudioFloorStudio
Skip the tile-by-tile copying: every board cut, counted, out as CSV.
- 13 patterns
- SketchUp 2021-2026
- CSV take-off
SketchUp 2021–2026v3.3.0
The cut list is the point
Renders sell the room; cut lists build it. The moment your floor is real geometry, the takeoff is nearly free — and it is the best sanity check on your set-out you will ever get.
- Whole pieces per pattern element, counted.
- Cut pieces with their actual dimensions, so they can be nested or ordered.
- Net area laid, and gross area including wastage.
- Wastage as a trade rule of thumb: roughly 5–10% for a straight lay, 10–15% for diagonal, herringbone or chevron, more for mixed-format patterns.
- Rounding up to whole boxes, which is what the supplier actually sells.
That last line is where designers lose money. Nobody sells 41.3 m². If a box covers 1.44 m², that is 29 boxes before wastage and 32 after — and the gap between a set-out that needs 29 and one that needs 32 is a real number on the quote. You either find it in five minutes in the model, or you find it on site.
A workflow that survives revision
- Close the room as a single face at finished floor level, with openings and obstructions already in it.
- Fix the module: piece size plus joint width, in millimetres, taken from the actual product.
- Pick a datum — the door threshold, the longest sightline, the centre of the room — and set out from it.
- Choose the pattern, then check the edge cuts before you commit to it.
- Clip, then look at the perimeter honestly. Slivers mean the datum is wrong.
- Export the cut list and read it. It will tell you things the render will not.
- Re-run the whole thing after every plan change, because there will be plan changes.
That last step is the whole argument for doing this parametrically. A hand-built array is a one-shot asset: move a wall and you rebuild it. A generated floor is a recipe — change the room, change the module, change the pattern, and it regenerates with the counts already updated.
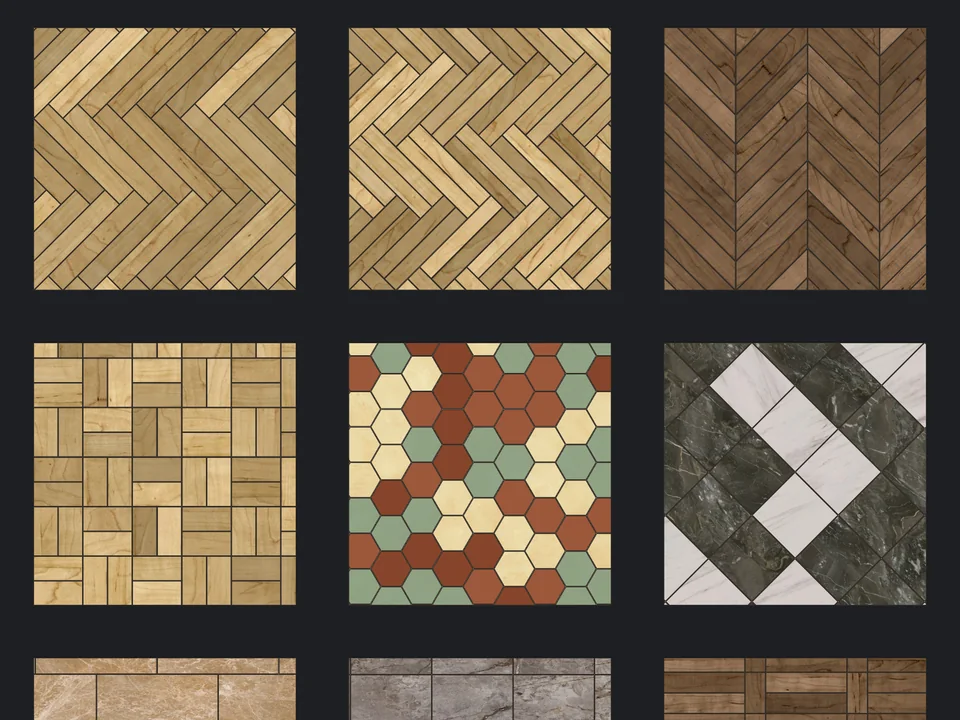
This is the exact gap FloorStudio is built for. You give it the room outline, one of its 13 patterns and a real joint width; it lays the field, clips every piece to the outline and to the holes, and exports the takeoff as CSV. The catalogue puts the same job at about 45 minutes by hand against 45 seconds with the tool, on SketchUp 2021 through 2026. The point is not the 45 seconds, though. The point is that the second, third and fourth versions of the plan also take 45 seconds.
The advantage, plainly: a floor built as real geometry sells the room and builds it, and every revision of the plan costs the same 45 seconds instead of another afternoon. See the 13 patterns on the FloorStudio page and lay your next room the way the tiler will.
Pick a face, pick a pattern. Floor laid.
Flooring$39FloorStudioFloorStudio
Skip the tile-by-tile copying: every board cut, counted, out as CSV.
- 13 patterns
- SketchUp 2021-2026
- CSV take-off
SketchUp 2021–2026v3.3.0