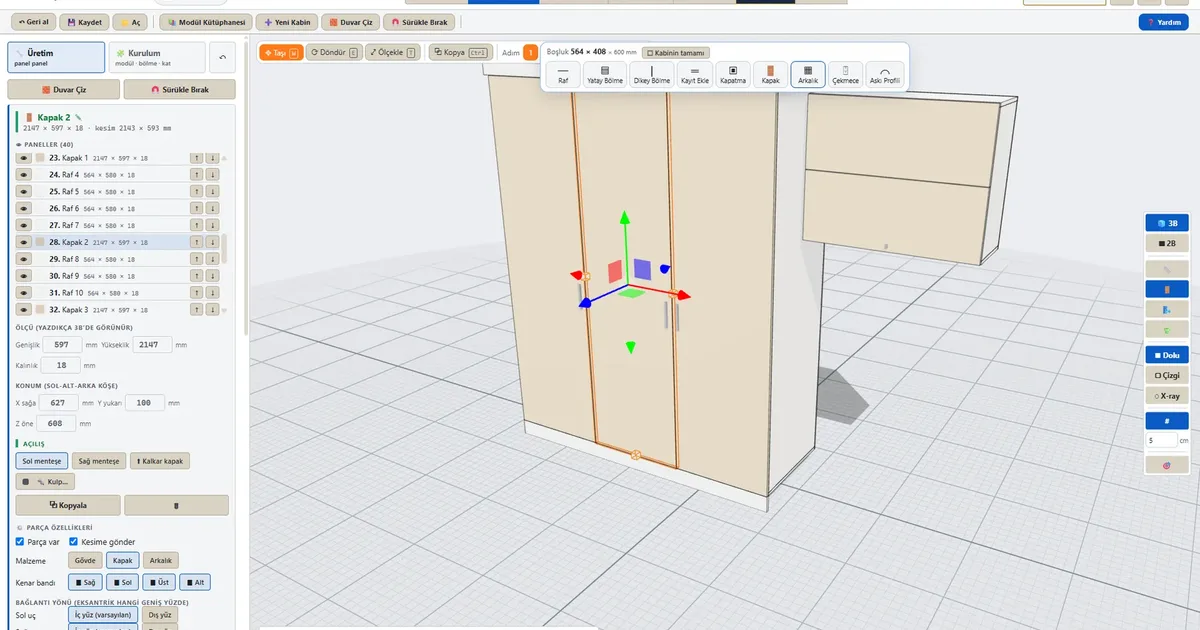
In most drawing programs a cabinet is a box: nice outside, empty inside. To go to production you split that box into parts in your head. In CabinetWizard, when you drag and drop a cabinet it is already made of its parts: side panels, top and bottom, shelves, back, doors and plinth are separate real parts.
Three ways to start a cabinet
- Module Library. The yellow + brings a module into the scene, built from real panels. The window stays open, so you can place modules one after another.
- New Cabinet. Start with an empty cabinet, from quick access or by right-clicking empty space in 3D.
- Panel Palette. Bottom / top, side panel, divider, shelf, back, door, plinth, leg. Pick a part and click a face or the floor in 3D: the panel sits there and sizes itself to its neighbours.
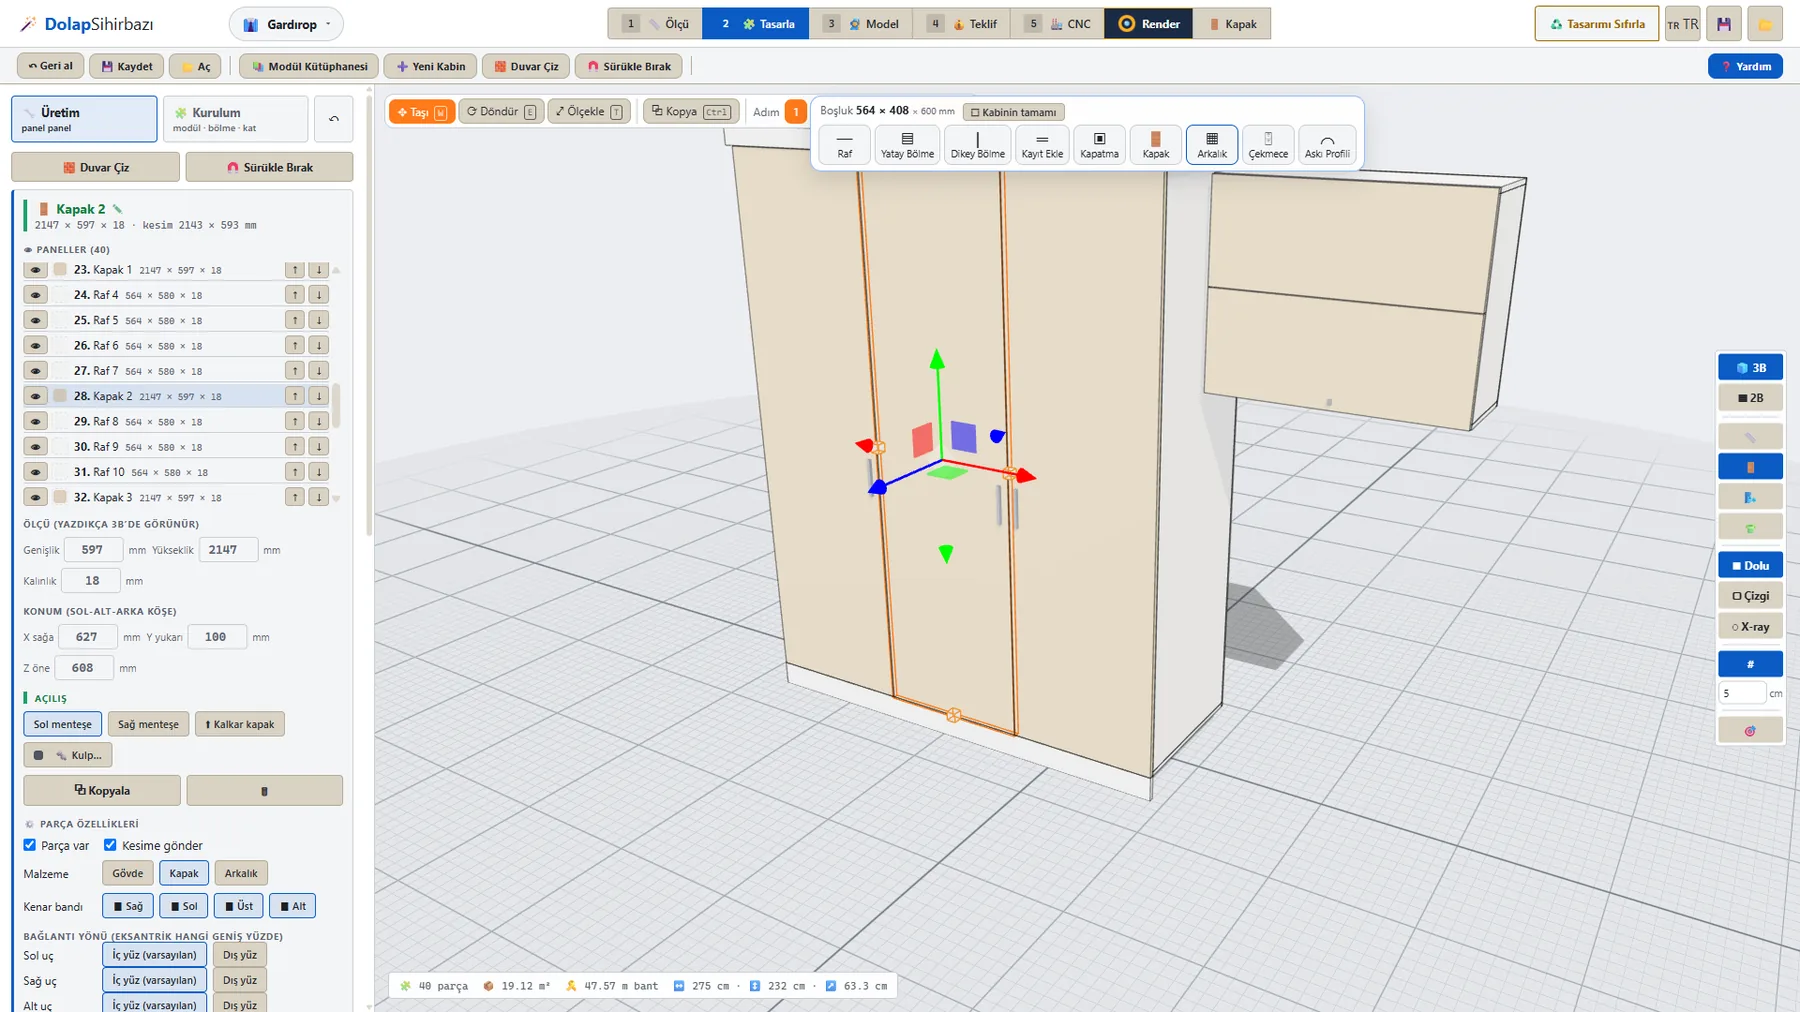
Hover a cavity and the part fits itself
Move the mouse into a cavity inside the cabinet and its size appears with a toolbar: Shelf, Horizontal Divider, Vertical Divider, Rail, Filler, Door, Back, Drawer, Hanging Rail. The part you add with one click fits the cavity exactly. Holes open by themselves against the neighbouring panels; you build the part, the program works out the joint.
Every panel is yours to the millimeter
- Size and position. Width, height, thickness; X, Y, Z. It shows in 3D as you type; net size and cut size sit side by side.
- Edge banding. Switch each of the four edges on or off; the edge-band total updates itself.
- Joint side and edge allowance. You decide which face the cam goes on and how far each edge grows or shrinks.
- Cut-outs and pockets, LED strip. Socket, cable pass, ventilation; LED along the front edge, lengthwise or crosswise.
Frequently asked questions
Can I change a ready module?
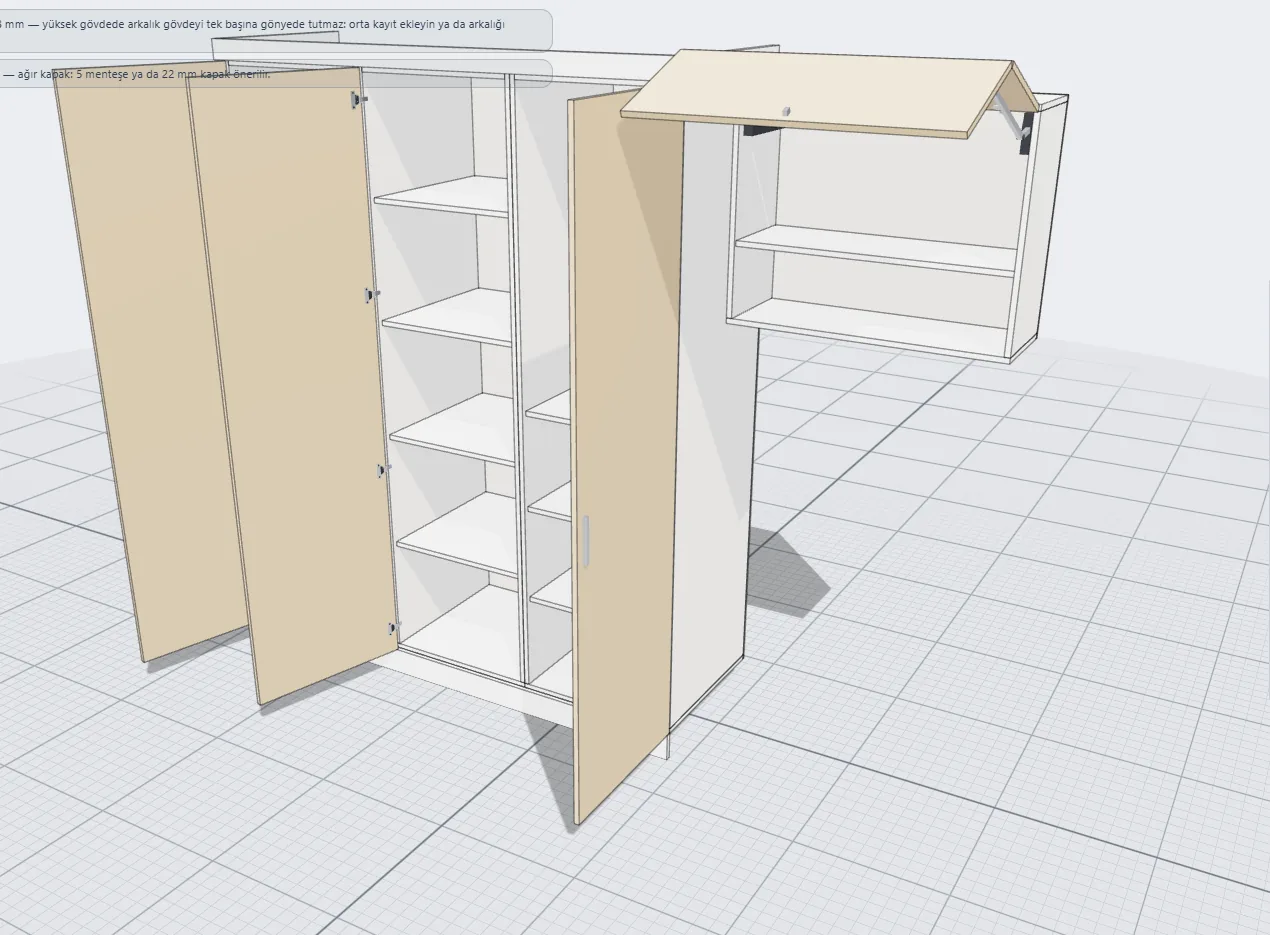
Yes. A module from the library also opens panel by panel in Production; every part is yours to change. Put your own cabinet in ⭐ Favourites and it is ready for the next job.