Openings are where anyone who knows buildings checks whether you do. Picture the section through your window: the frame sitting in its reveal, the sill running under the plaster, nothing floating. A wall is easy. The hole in it is not. Most SketchUp models that look wrong at a glance are wrong at the openings: a window floating a few centimetres in front of the wall, a door hole cut on the outside face but not the inside, a sill that stops dead where the plaster starts.
Openings are also the part the client changes. The kitchen window grows 200 mm, the entrance becomes a double leaf, the facade shifts a metre — and the model that took an afternoon falls apart in ten minutes.
This is a guide to modelling openings so they survive that. Craft first, tools where they genuinely answer the problem, and an honest look at what the manual method actually costs.
Why openings are where models break
SketchUp has no idea what a wall is. It has faces, edges and groups, and every opening trick is built on top of that ignorance. Knowing exactly where each trick gives up saves hours.
- Cut-opening components only cut one face. Glue a component with the 'cut opening' behaviour to a wall drawn as a single face and it works beautifully. Give it a wall with real thickness — two faces and a core — and it cuts only the face you glued it to; the hole stops there and never reaches the other side.
- Cutting components ignore nesting. If the wall lives inside a group and the window is dropped at model level, the hole simply never appears.
- Solid Tools (Subtract, Trim, Intersect) are a SketchUp Pro feature, and they refuse to run unless both objects are watertight solids. One stray edge or a hole the size of a pixel and nothing happens.
- Subtract deletes the cutter; Trim keeps it. Use Subtract carelessly and the void that made your hole is gone, so the next revision starts from scratch.
- Solid Tools output a fresh solid group. A wall component you subtract from may come out the other side no longer linked to its definition.
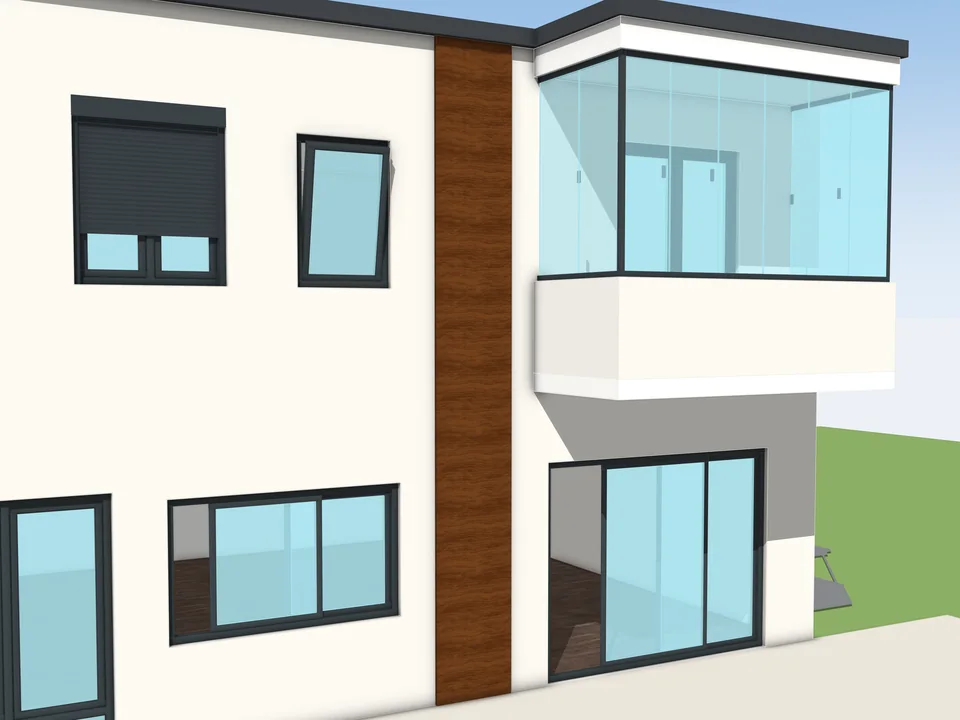
- Resizing a window by scaling the instance stretches the frame profile with it. A 60 mm frame in an instance scaled 1.5x wide is a 90 mm frame — and that is what lands in your report.
Rough opening, frame, reveal: three different rectangles
On site nobody says 'the window'. They say the rough opening, the frame and the reveal, and those are three different sizes. Model them as three different things and every downstream problem gets smaller.
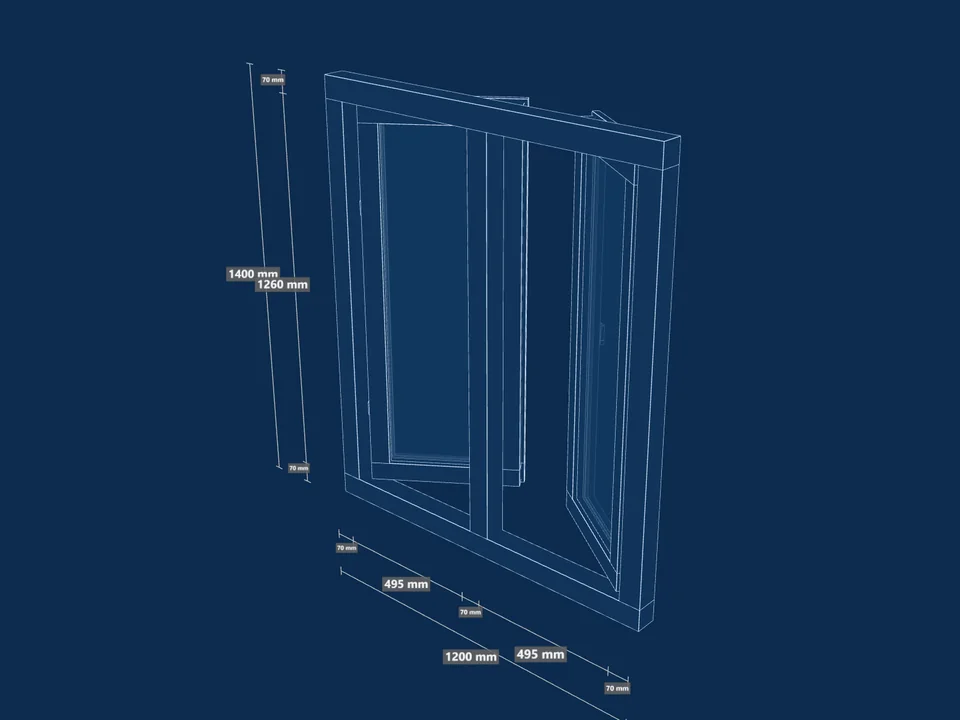
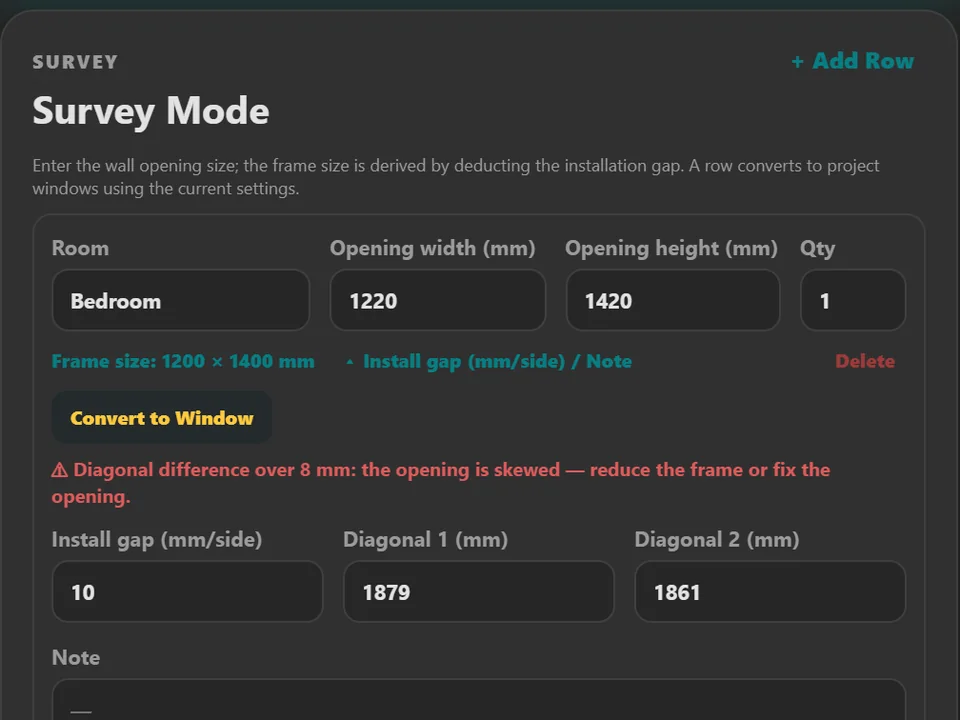
- Rough opening: the hole in the structure. It is larger than the frame, because the installer needs a shim gap all round to plumb and fix the frame — commonly around 10 mm a side, but take it from the maker's spec, not from a blog.
- Frame: sits inside the rough opening and is almost always set back from the outer face, not flush with it. Flush frames are the fastest way to make a facade look like a video game.
- Reveal: the strip of wall you see between the outer face and the frame. That strip casts the shadow that makes a wall read as masonry rather than cardboard. It is the single highest-value detail in an exterior view.
- Sill: projects past the face, slopes away from the building and wants a drip. Head: needs a lintel, and the lintel sets the minimum distance to the slab above.
- Jambs and internal casings meet the plaster line, not the blockwork line. Decide which face your interior geometry belongs to before you copy the window fifty times.
The manual method, honestly
Done properly, the manual route is perfectly respectable. It looks like this:
- Draw the wall as a solid group or component.
- Build one void: a box the size of the rough opening, made a component, deliberately deeper than the wall on both sides.
- Copy the void, Subtract the copy from the wall, park the original on a hidden 'openings' tag.
- Build the window itself as a separate component: frame, glass, sill, reveal returns, casing.
- Name the definition with its type mark — W-01, D-03 — and copy instances wherever it repeats.
That is roughly ten to fifteen minutes for the first opening and two or three for each one after, as long as nothing changes. Nothing ever doesn't change. The real cost is not the first build — it is the fifth revision, when the void copies and the wall copies have drifted apart and nobody can tell which hole belongs to which window.
Manual modelling is still the right call for one hero window, or a detail you need to control edge by edge. It is the wrong call for forty repeated openings on a housing block, and it is a very expensive call when the client is still moving walls.
Door swings are a plan problem, not a 3D problem
A door is ninety percent decision and ten percent geometry. Which side is hinged, which way it opens, what it hits on the way. Get those wrong and the model is pretty and useless.
- Clear width is measured with the leaf open at 90 degrees, from the face of the door to the stop. It is not the leaf width and definitely not the rough opening. Accessible routes fail on exactly this measurement.
- Doors on escape routes are generally required to swing in the direction of travel out of the space — check your local code, it is not optional.
- The pull side needs manoeuvring space next to the handle: someone in a wheelchair has to hold the leaf and back up at the same time.
- Draw the swing arc in plan and put it on its own tag, so the drawing reads correctly while the 3D view stays clean.
- Left-hand and right-hand doors are different line items in a schedule. Flipping an instance is fine in the model — just make sure the handing survives into the report.
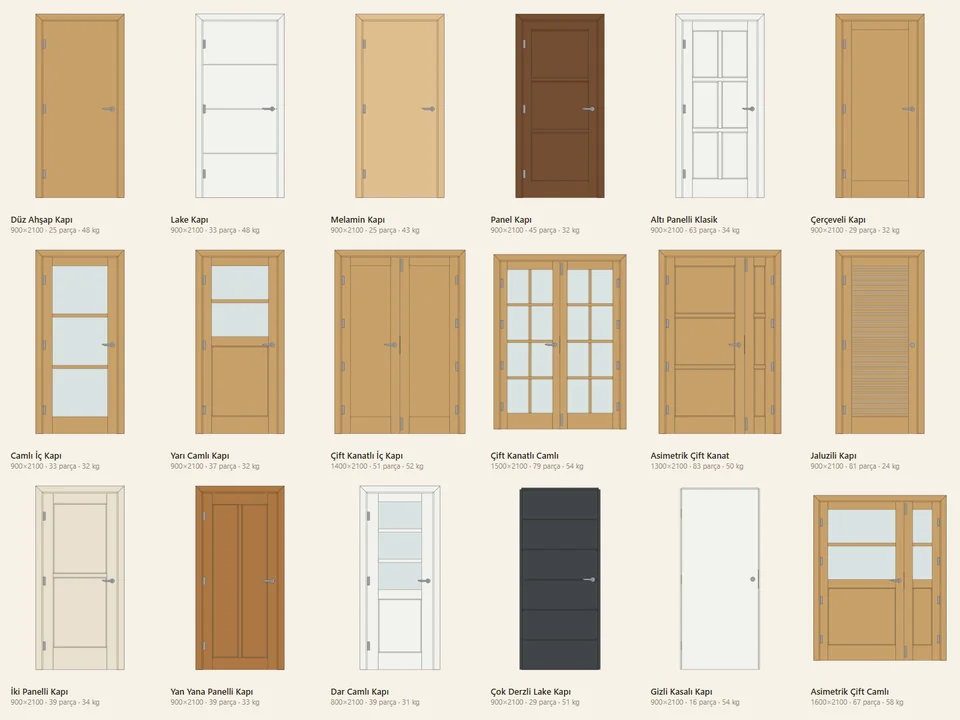
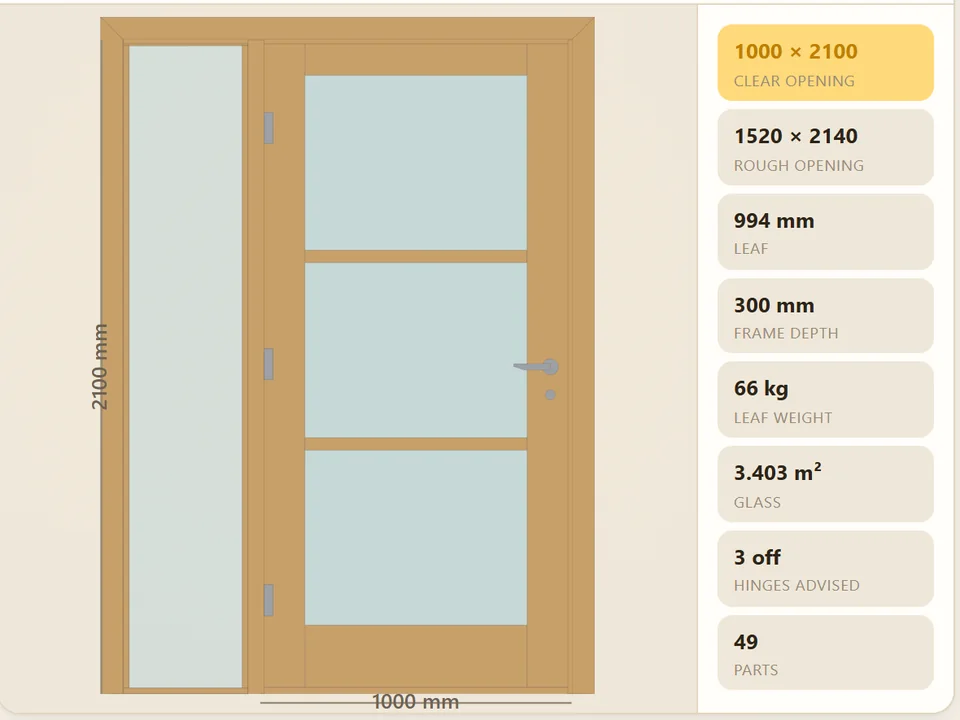
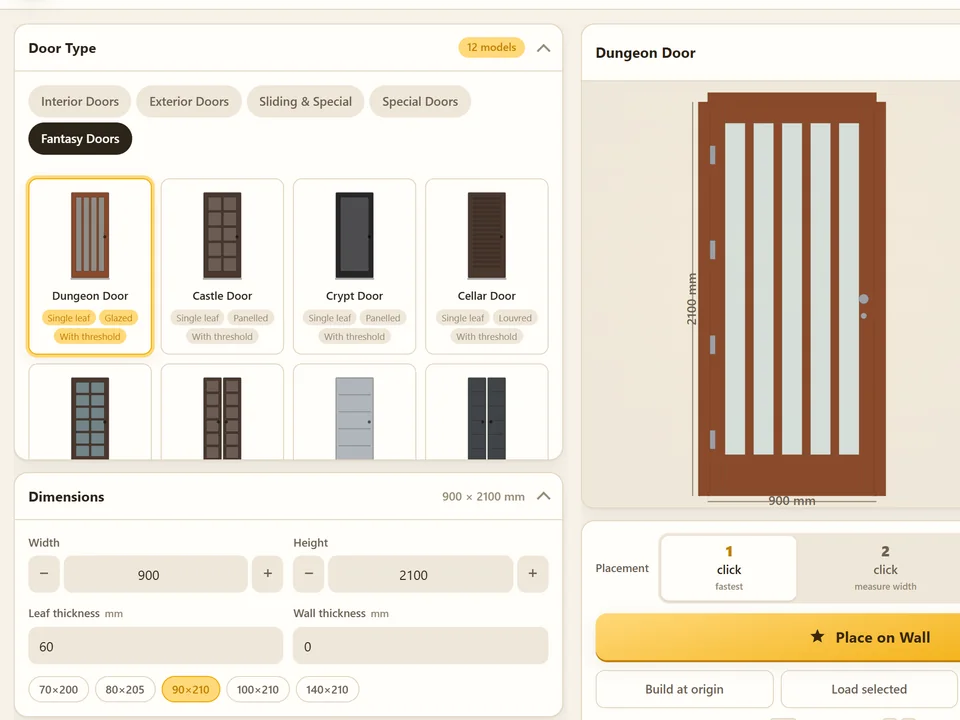
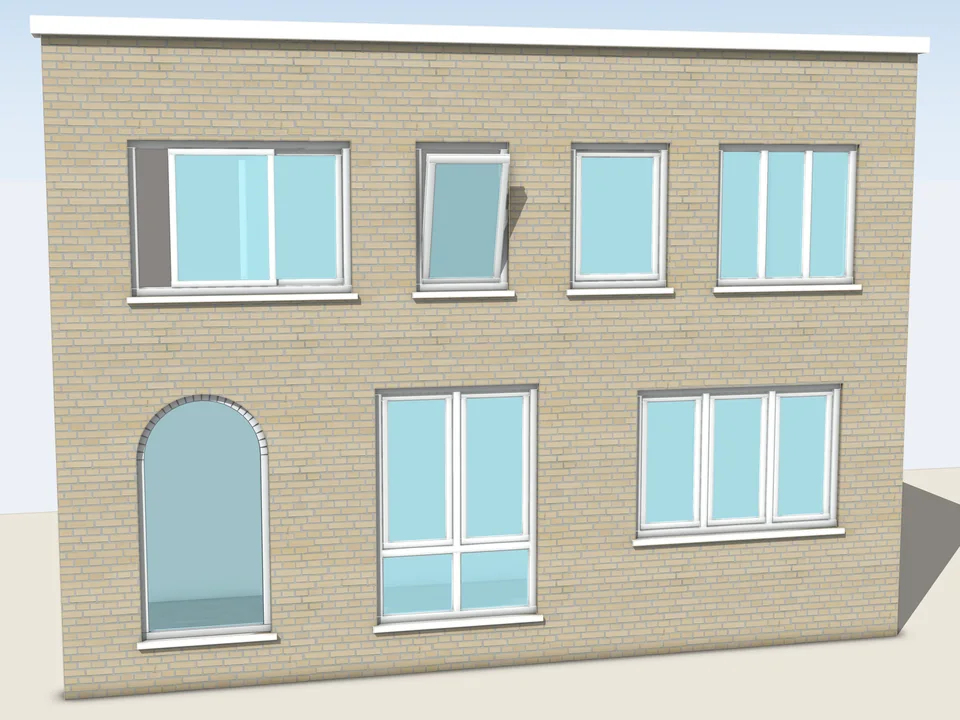
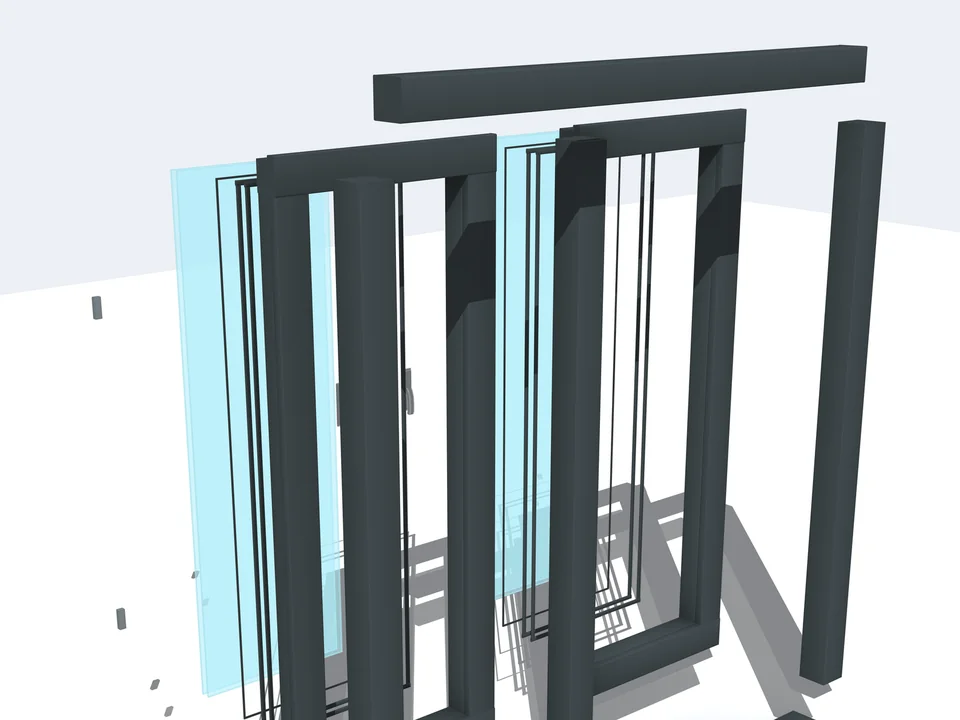
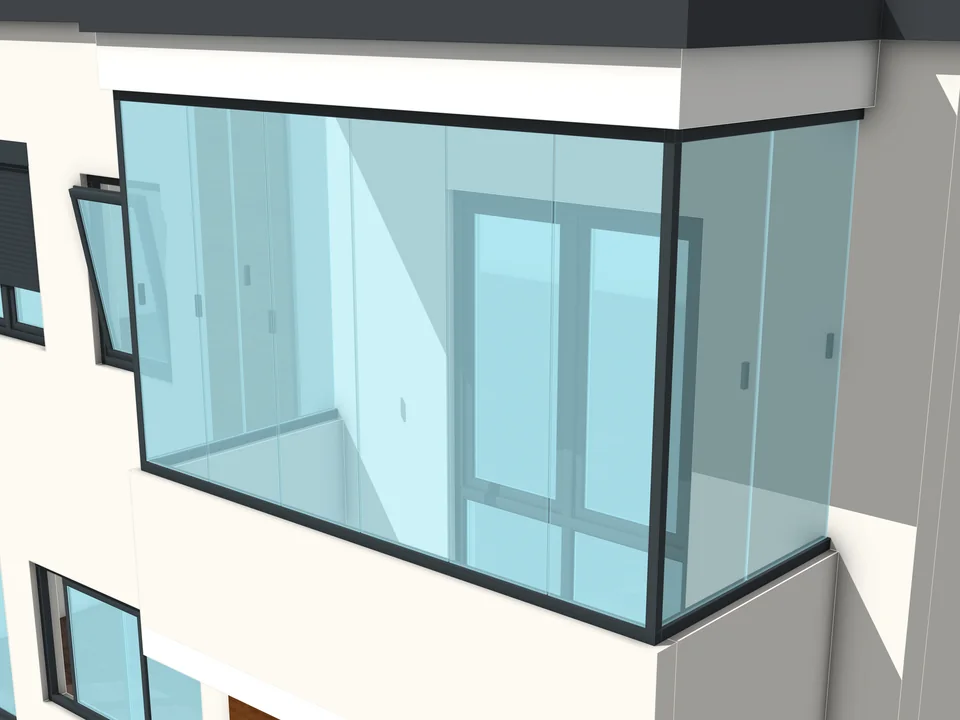
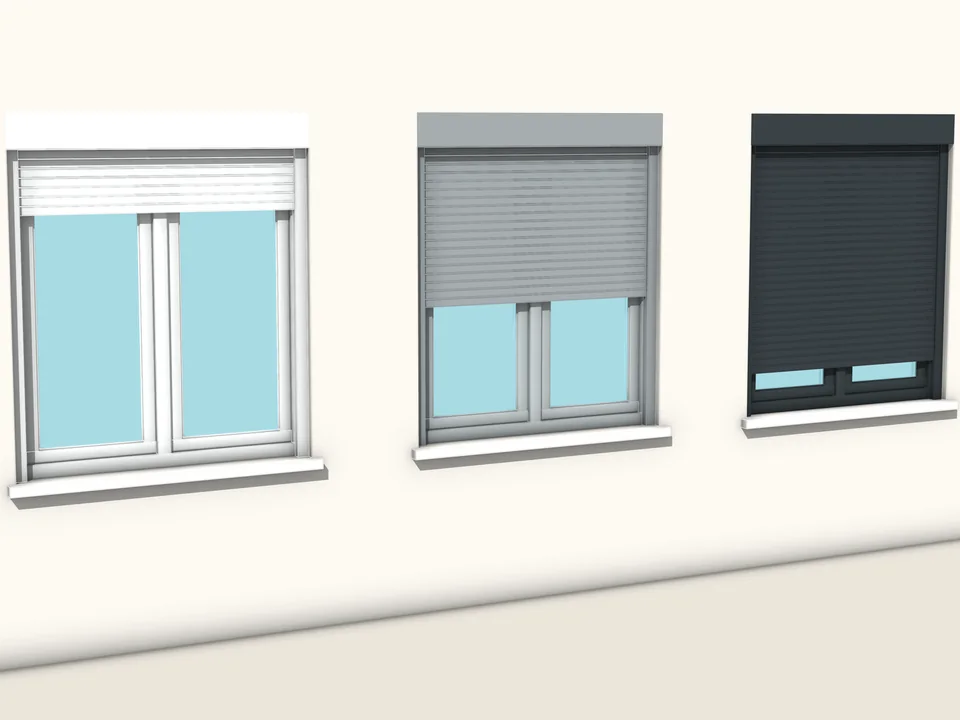
This is where a placement tool earns its keep, because none of that thinking is what takes the time — the boolean, the reveal returns and the frame profile are. Door Studio carries 51 door models in 4 categories and puts one into a wall in one to three clicks: pick the door, click the wall, it fits itself, cut and all. It runs on SketchUp 2021 through 2026 and ships with 572 passing tests. WindowFun Studio does the same for glazing: 51 models across 6 categories on SketchUp 2024–2026, with CSV, DXF and a PDF quote coming out of the same window you just placed. The catalogue puts a hand-built window at about 40 minutes against 25 seconds, and a door at 25 minutes against 20.
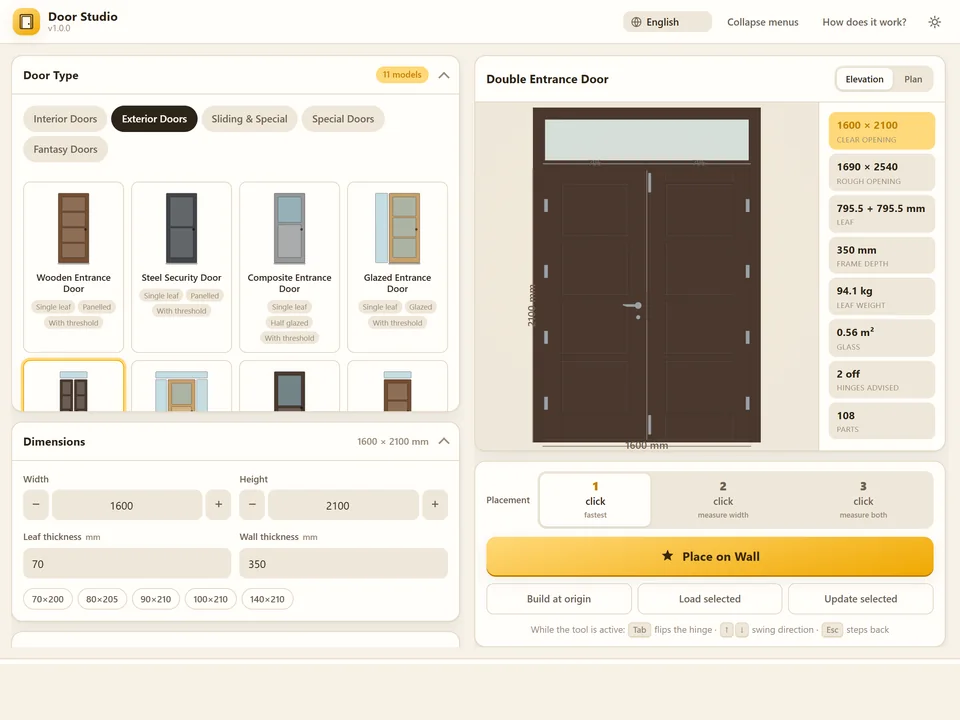
Pick a door, click the wall. It fits itself.
Windows & Doors$30Door StudioDoor Studio
No walls cut by hand: pick a door, click the wall, it fits itself.
- 51 models, 4 categories
- 1/2/3-click wall placement
- 572 tests green
SketchUp 2021–2026v1.6.0
Type the size. The window builds itself.
Windows & Doors$30WindowFun StudioWindowFun Studio
Don't draw windows one by one: type the size, get window and quote.
- 51 models, 6 categories
- CSV + DXF + PDF quote
- SketchUp 2024-2026
SketchUp 2024–2026v1.1.0
Keeping the opening editable after the wall changes
Editability is a filing problem more than a modelling problem. Five habits carry almost all of it:
- Keep every void component on one tag — call it OPENINGS-VOID — hidden but never deleted.
- One definition per opening type. If two openings are genuinely identical they must be the same component, or your schedule is fiction.
- Never explode a placed opening to fix one small thing. Fix the definition and let every instance follow.
- Treat Outliner as the source of truth. If you cannot find a window by name in Outliner in five seconds, neither can the person who inherits the file.
- Put a section plane through a typical opening and save it as a scene. Head, sill and reveal mistakes are invisible in a three-quarter view and obvious in section.
Getting a schedule out
The schedule is the whole reason to be strict about components. SketchUp Pro's Generate Report walks the model and exports definitions, instance names and attributes to CSV. That is a window and door schedule — if, and only if, your openings are properly named components and your quantities come from instances rather than copies of loose geometry.
- Put the type mark in the definition name (W-01, D-03) and use the instance name for location if you need one.
- Store width, height and rough opening as attributes, not as scale. Scale lies to the report.
- Export to CSV, pivot it in a spreadsheet, count by definition — and count doors by handing as well as by type.
- Check the totals against the plan before you send anything. A report is only ever as honest as the model behind it.
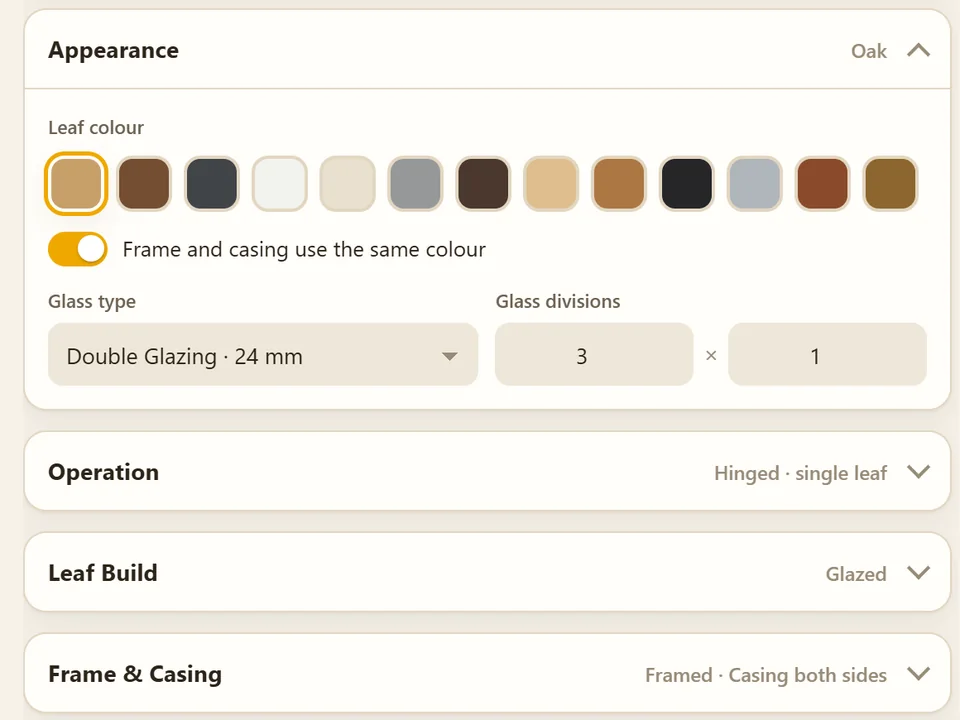
When the quote matters more than the drawing — joinery shops, glaziers, replacement windows — it is often faster to configure outside SketchUp entirely. WindowFun Studio Web covers 55 models in 6 categories, runs offline as a PWA in Turkish, English and German, and round-trips back through GLB and DXF, so the quote and the model come from one configuration instead of two. And if the plan itself is still moving, a reactive model beats any single opening tool: ArchiFlow Studio rebuilds the building from the plan in about 150 ms, so the model keeps up with each edit to the plan.
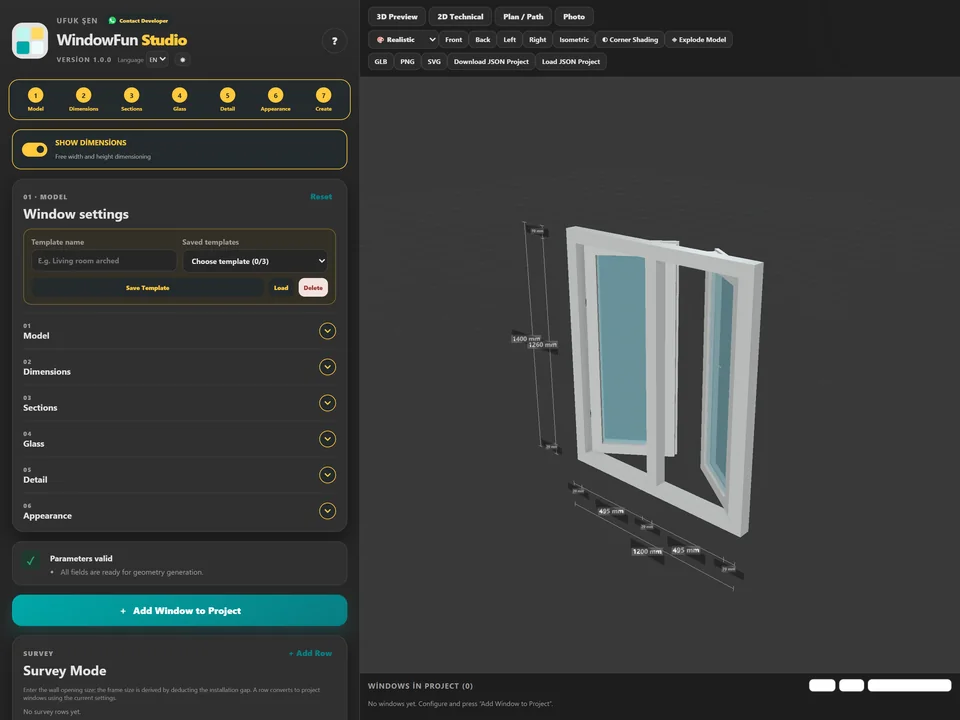
Type the size, watch it build in 3D.
Windows & Doors$30*WindowFun Studio WebWindowFun Studio Web
No hours of quote maths: design the window, get quote and cut list.
- 55 models, 6 categories
- 105 tests passing
- Offline PWA, TR/EN/DE
Runs in your browserv1.0.0
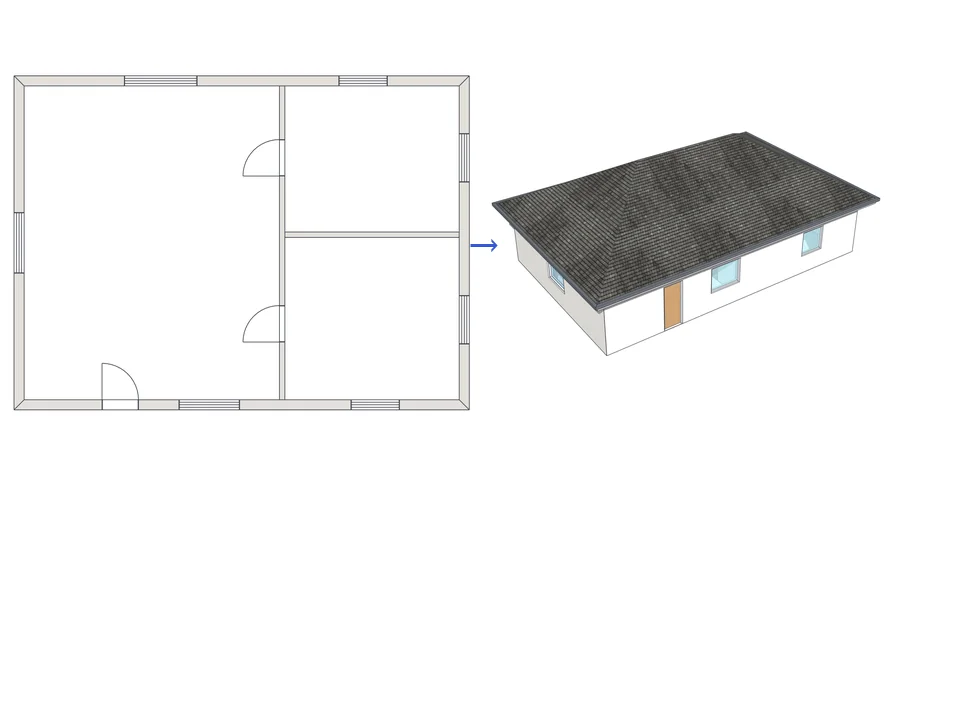
Draw the plan. One click, it's 3D.
Architecture$99ArchiFlow StudioArchiFlow Studio
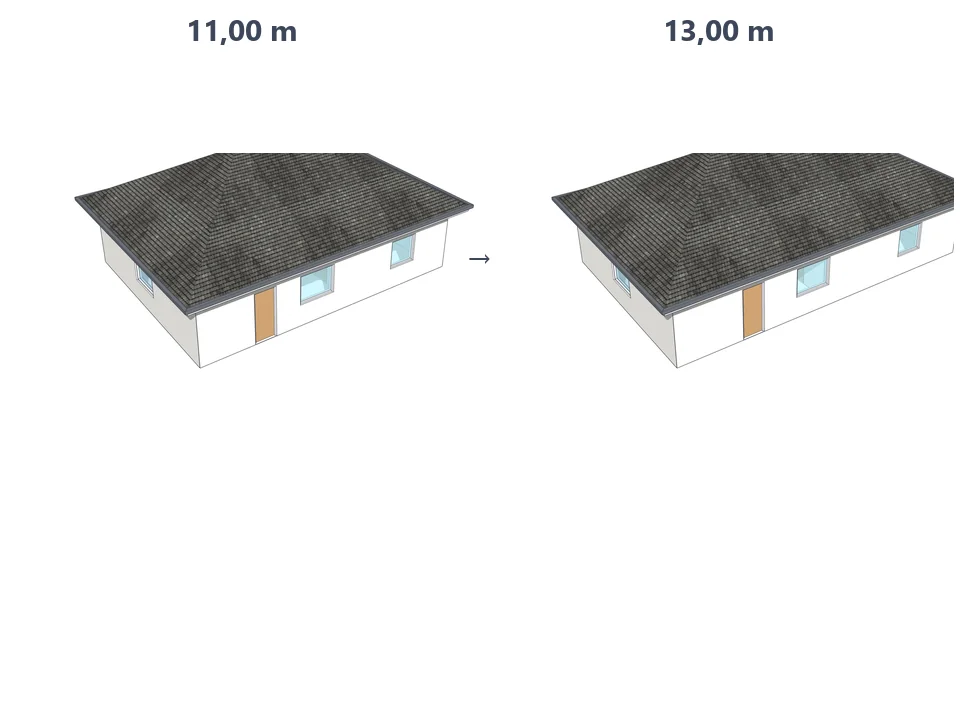
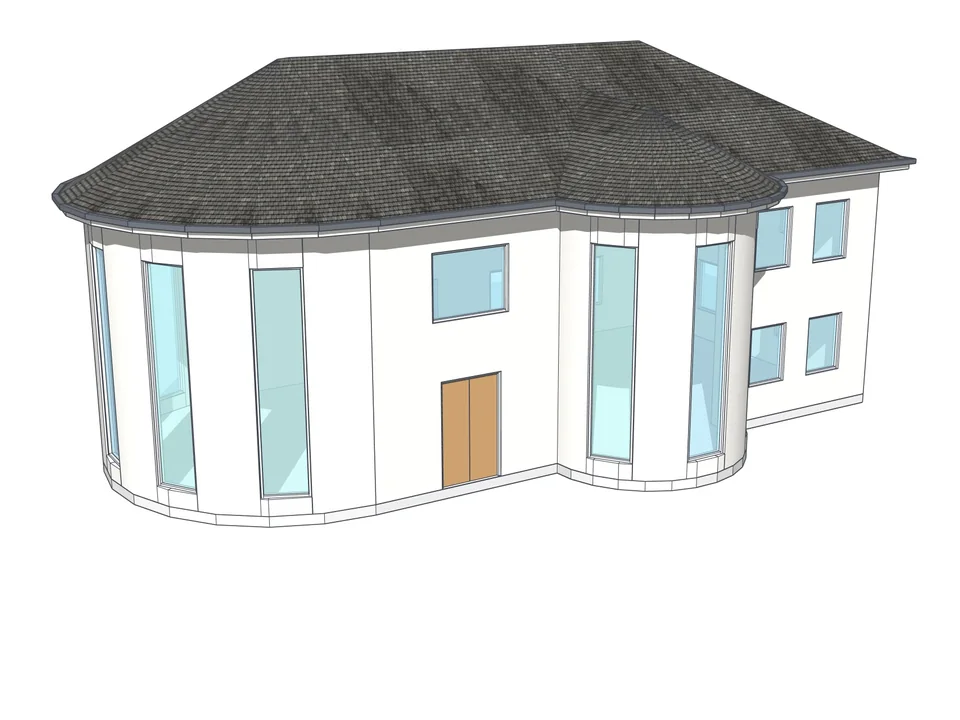
Draw the plan once; move a wall and the building rebuilds itself.
- 5 studios built in
- 150 ms auto-rebuild
- SketchUp 2021-2026
SketchUp 2021–2026v1.72.0
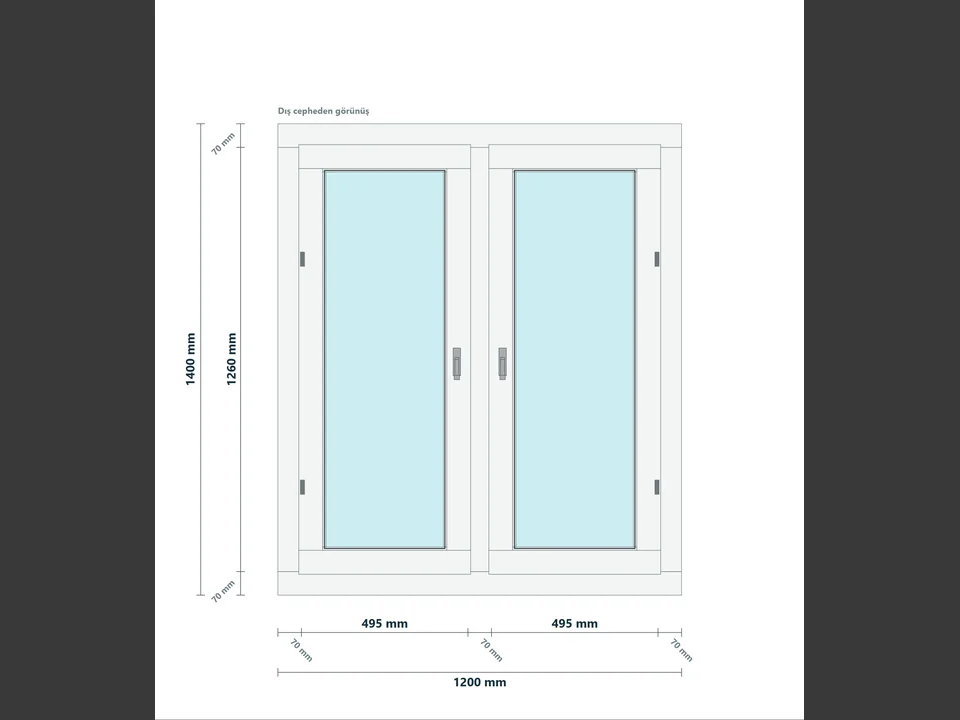
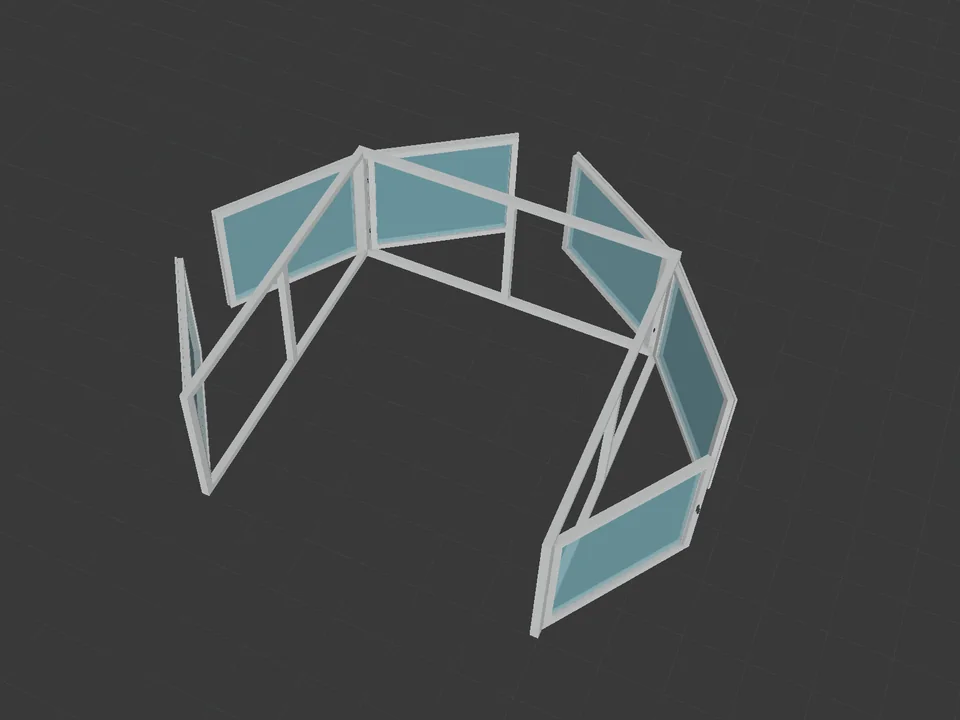
None of this is exotic. Model the void, respect the reveal, name the component, check it in section, export the CSV. Do that and the opening stops being the weak point of the model and starts being the part that proves you know the building.
The advantage, plainly: openings that are real components survive the client's next change and count themselves into the schedule, so the weak point of the model becomes the proof of your craft. For doors, see how you pick a model and click the wall on the Door Studio page; for windows and their production list, look at WindowFun Studio.